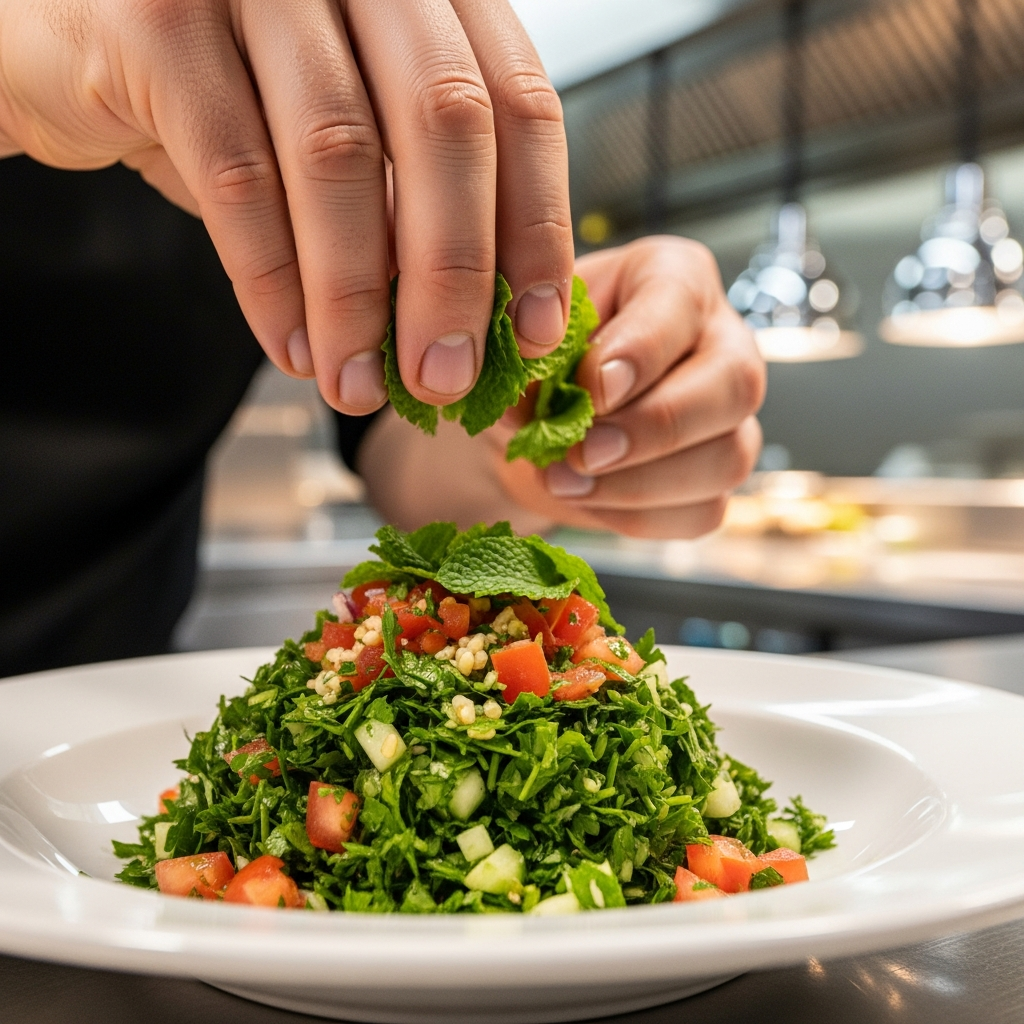
If you have ever pulled a tray of homemade pitas from your oven in Naperville and wondered why they did not puff, or why yesterday’s beautifully soft rounds turned brittle today, you are not alone. Home cooks across the city—from downtown apartments to kitchens near Springbrook Prairie—grapple with the same handful of pita problems. The good news is that most are solvable with a few small adjustments. Understanding the quirks of dough, heat, and storage will help you turn a tricky bake into a dependable weeknight staple, and it will make your favorite Mediterranean meals taste closer to what you love from local kitchens. And when you want a benchmark for texture and flavor, browsing a trusted restaurant’s menu can show you how soft, steamy pita behaves in the wild.
The most common frustration is the missing pocket. You mix, knead, rest, and roll—then instead of ballooning, the rounds lie flat in the oven. The pocket is not cosmetic; it is a built‑in feature that keeps fillings tidy and distributes sauce evenly. When it fails, sandwiches become messy and bites feel unbalanced. Fortunately, the fix often lies in three places: dough hydration, thickness, and heat. Get those right and the pocket appears like magic.
Hydration and gluten: the foundation of the puff
Dough that is too dry struggles to generate enough steam to inflate during baking. In Naperville’s variable weather, indoor humidity changes quickly between seasons, so the same recipe can behave differently in January than in July. Aim for a soft, slightly tacky dough that stretches without tearing. Knead until it feels elastic and smooth; this builds the gluten network that traps steam and creates the pocket. If the dough tears when you try a windowpane test, it needs more kneading or a brief rest to relax.
Salt and yeast balance also matter. Too much salt tightens gluten and slows fermentation; too little salt makes dough slack and harder to handle. For reliable results, measure by weight when possible and give the dough enough time to rise until puffy, not necessarily doubled. In cooler months, a warm corner of the kitchen—near but not on the stovetop—can keep proofing on track.
Thickness and rolling technique
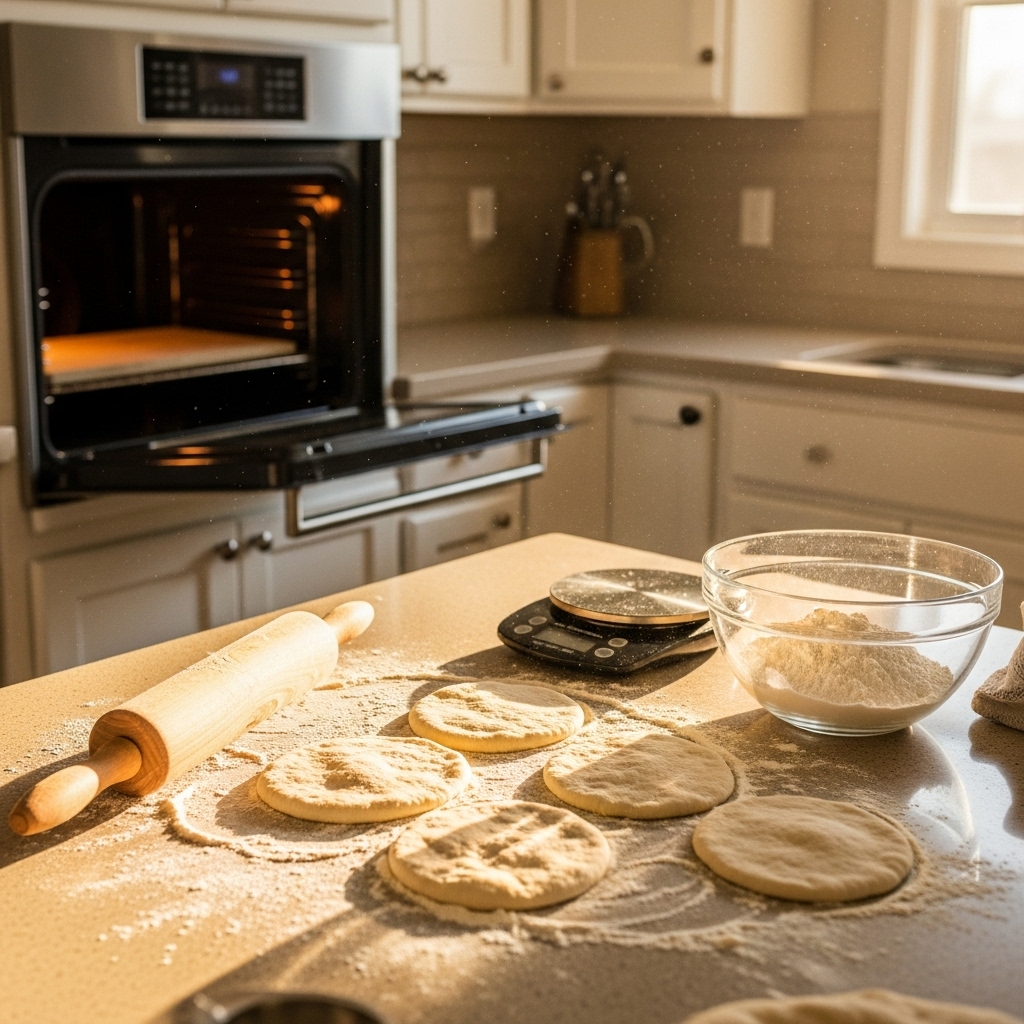
Even thickness is the secret to an even puff. Roll pitas to about a quarter‑inch, dusting lightly with flour to prevent sticking but not so much that layers separate. If the edges are thinner than the center, the bread will inflate unevenly or leak steam. After rolling, let the rounds rest for a few minutes; this relaxes gluten, making it easier for the bread to balloon in the oven. If you see bubbles forming on the raw surface, gently press them out so they do not become weak points during baking.
When transferring to the baking surface, handle gently. A rough transfer deflates developing gas and can compromise the puff. Use a peel or the back of a sheet pan to move rounds quickly to the hot surface without folding or stretching them out of shape.
Heat: the make‑or‑break factor
A hot surface and a blast of heat are nonnegotiable. Preheat your oven with a stone or flipped sheet pan for at least 30 minutes at the highest safe temperature. In many Naperville homes, that means 500–550°F. The initial contact should be intense so the exterior sets quickly, trapping steam that inflates the pocket. If your oven runs cool or loses heat when opened, bake in smaller batches to maintain temperature. Watch through the glass; a successful pita will puff within a minute or two.
For those without a stone, a heavy skillet on the stovetop works. Heat it thoroughly and cook each round on one side until bubbles appear, then flip. A gentle press with a spatula can encourage an even puff. Covering briefly can trap steam and improve results in drafty kitchens.
Keeping pitas soft after baking
Nothing disappoints faster than a perfect puff followed by a quick fade into dryness. To preserve softness, stack hot pitas and wrap them in a clean towel to trap moisture. This mini‑steam chamber keeps the crust tender as the bread cools. Once at room temperature, move them to a sealed bag. If you baked more than you will eat that day, freeze immediately. Reheat directly from frozen on a hot skillet for a minute or in a warm oven just until pliant.
At the table, assemble sandwiches thoughtfully. Spread hummus or yogurt sauce inside the pocket to create a moisture barrier. Layer crisp greens before juicy vegetables and finish with proteins. This sequence protects the bread so it stays soft through the last bite of lunch on the Riverwalk or dinner at home after a long commute.
Flavor balance and the role of freshness
Texture is only half the equation. Fresh pitas carry a delicate wheat aroma that lifts herbs and spices. Day‑old pitas may need a brush of olive oil and a warm skillet to bloom. If the bread feels flat, add a squeeze of lemon or a herb‑forward condiment to brighten. Just avoid overloading sauce to compensate for dryness—that leads to sogginess and masked flavors. The goal is a gentle gloss that lets fillings shine.
For inspiration, look to local plates that treat bread as a partner, not an afterthought. Notice how vegetables are sliced thin, how pickles provide crunch and acid, and how proteins are seasoned assertively but not aggressively. The best pitas in town taste alive because every element respects the bread’s texture and aroma.
Storage pitfalls Naperville cooks encounter
Staling accelerates when bread is stored in the refrigerator, a habit many of us picked up in the name of freshness. For pita, the fridge is unfriendly territory. Keep a day’s worth at room temperature in a sealed bag and freeze the rest. If you must store leftovers overnight, include a small piece of parchment between rounds to prevent sticking and tearing when you reheat.
Another pitfall is prolonged holding under heat. Leaving pitas near a warm oven or in a low oven to “keep warm” can drive off moisture and toughen the crumb. Instead, warm just before serving and use the stack‑and‑towel method to hold for short periods.
When takeout is your benchmark
For many Naperville home cooks, a great restaurant pita sets the standard for what they try to replicate. There is value in studying how a stellar handheld is built and how the bread behaves. Watch how a soft pocket holds juicy fillings without tearing, and how a quick warm‑through creates steam without brittleness. If you are planning a comparison, review a local Mediterranean menu and order a pita that features contrasting textures—crisp slaw, creamy sauce, and a warm protein. Then apply those insights at home.
As you experiment, keep notes. Jot down oven settings, dough feel, and how the bread looked as it inflated. Naperville kitchens vary—some run dry in winter, others stay humid through summer—and those conditions affect flour absorption and proofing time. The more you document, the faster you will lock in a method that works in your space.
Frequently Asked Questions
Q: Why didn’t my pitas puff?
A: Common culprits are insufficient heat, dough that is too dry, or rounds rolled unevenly. Preheat your baking surface thoroughly, aim for a soft, slightly tacky dough, and roll to an even thickness. Let the rounds rest briefly before baking to relax gluten.
Q: How do I keep pitas from drying out after baking?
A: Stack hot pitas and wrap them in a clean towel to trap steam while they cool. Store at room temperature for a day, then freeze. Reheat quickly on a skillet or in a hot oven until just pliant—avoid long reheats that drive off moisture.
Q: Can I make good pitas without a baking stone?
A: Yes. A preheated, heavy skillet on the stovetop works well. Cook until bubbles form, flip, and press gently to encourage a puff. Cover briefly to trap steam if needed. The key is high heat and quick cooking.
Q: What flour should I use?
A: All‑purpose flour yields a soft, familiar texture, while a blend with whole‑wheat adds flavor and fiber. Start with mostly all‑purpose and add a portion of whole‑wheat to taste. Adjust water slightly, as whole‑wheat absorbs more.
Q: How do I prevent pitas from tearing when I fill them?
A: Warm the bread just before assembly to increase flexibility. Spread a thin layer of hummus or yogurt inside to reinforce the pocket, and layer greens before juicy vegetables. Avoid overfilling; balanced portions keep the structure intact.
Q: What’s the best way to revive day‑old pita?
A: Brush or mist lightly with water and warm briefly on a hot skillet or in a 350°F oven until soft and steamy. Wrap in a towel for a minute to finish. This reactivates starches and returns elasticity without making the bread tough.
Ready to turn pitfalls into perfect pitas?
Your best results are a few small adjustments away. Heat your surface until blazing hot, aim for a supple dough, and protect softness after baking. When you want a delicious benchmark—or simply a night off—choose a trusted spot, explore the menu, and bring home a warm, steamy pocket to study and enjoy. With practice, your Naperville kitchen will turn out pitas that rival your favorites across town.