From Riverwalk Inspiration to Your Oven: Making Pita at Home
On a bright afternoon along the Naperville Riverwalk, it’s easy to dream about warm bread: steam rising, crusts soft enough to fold, and pockets that open to capture grilled meats, crisp greens, and garlicky sauces. Bringing that dream into your kitchen is wonderfully attainable. The heart of pita making is a conversation with three elements—dough, heat, and timing—and in a town where seasons swing and ovens vary from new convection models to well-loved electrics, learning to read those elements is half the fun. If you’d like creative ideas for what to tuck inside once you’ve nailed the bake, browsing a local menu can kickstart a dozen delicious plans, from herb-laced chicken to tangy pickled vegetables.
This guide walks you through the whole process with a Naperville lens, factoring in our winter dryness, summer humidity, and the practicalities of busy schedules. You’ll learn how to mix for strength, ferment for flavor, shape for a pocket, and deploy heat in ways that set you up for reliable success. The goal is to make pita the type of bread you can bake on impulse, whether for a Sunday lunch after the Farmers Market or a weeknight dinner after soccer practice on 95th Street.
Ingredients and Why They Matter
Pita dough is classic minimalism: flour, water, yeast, salt, and a touch of oil and sweetness. Start with unbleached all-purpose flour and, if you want extra lift, add some bread flour. A spoonful of honey or sugar promotes browning and supports fermentation. Olive oil adds tenderness without heaviness. Use warm water—think the warmth of the DuPage River in late summer—and keep an eye on how your flour absorbs it. In winter, indoor air is dry; your dough may need a splash more water to achieve the supple, slightly tacky feel that leads to flexible pockets.
Yeast freshness is non-negotiable. If yours has been in the pantry since last year’s cookie season, test it with a quick proof. Salt moderates fermentation and amplifies flavor; measure it thoughtfully so the dough tastes gently seasoned even before baking. These few ingredients turn into something remarkable when treated with attention.
Mixing and Resting for Gluten Development
Combine flour, yeast, and salt, then add warm water and a drizzle of olive oil. Mix to a shaggy mass and let it rest ten minutes; this simple autolyse makes kneading easier by hydrating flour particles. Knead by hand for eight to ten minutes or by machine for five to seven, until the dough becomes smooth and elastic, clinging to your hand but releasing without smearing. If it’s clingy like paste, dust the counter lightly and continue; if it feels tight and dry, wet your fingers and work in a bit more water. You’re building a network that can trap steam and expand quickly in the oven.
After kneading, shape into a ball, oil lightly, and set in a covered bowl to rise. Keep the dough protected from drafts—older windows near Downtown can cool a corner of the kitchen—and aim for a rise that nearly doubles. The exact time will swing with the season, but your fingertips tell the truth: a gentle poke that springs back slowly indicates readiness.
Naperville Fermentation Strategies
On a January afternoon, you may need a warm spot to encourage the rise. The oven with the light on, a microwave with a mug of hot water, or a sunny patch on the counter can all help. In July, your challenge is preventing over-proofing; check earlier, and consider a short cold fermentation in the fridge to deepen flavor. If you’re juggling errands around Ogden Avenue or a pickup from the train, the fridge is your friend. Dough that rises slowly develops complexity without demanding your constant attention.
Divide, Rest, and Roll for the Pocket
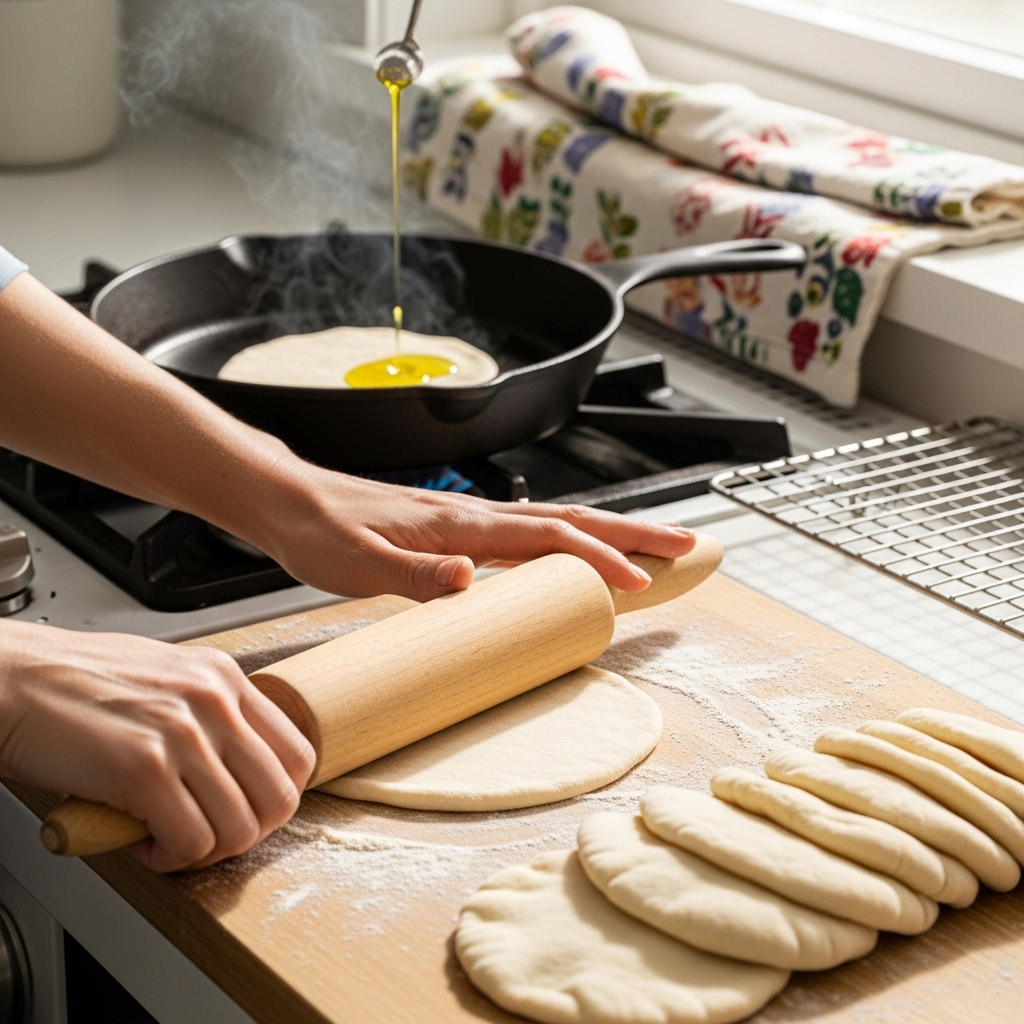
Turn the risen dough onto a lightly floured counter and divide into even balls, each about the size of a small orange. Tuck the edges under and roll each piece against the counter with cupped hands to create a taut surface. Rest the balls under a towel for twenty to thirty minutes; this short pause relaxes gluten and makes rolling smoother. When ready, roll from the center outward, rotating frequently, until each round is roughly a quarter inch thick. Keep edges a touch thicker than the center to support a dramatic puff and a sturdy pocket. If the dough snaps back, give it a few minutes to relax before the next pass with the rolling pin.
Be gentle. Heavy-handed pressing can seal the top and bottom layers together, preventing the steam-split that defines a pita. Those tiny blisters on the surface? They’re promising signs of good internal layering.
Heat Management: Stones, Steels, and Skillets
Preheat a baking stone or steel at 500°F for at least forty-five minutes. Think of this as charging your heat battery. Many Naperville ovens, especially in older homes, run a bit cool or cycle widely; a longer preheat smooths out those swings. Transfer rounds to the hot surface and watch closely—within two minutes, you should see expansion, then a full ballooning. As soon as they puff and take on a whisper of color, pull them and cover with a towel to trap steam and keep the crumb soft.
If you prefer stovetop cooking, heat a cast-iron skillet until it’s convincingly hot—a drop of water should dance. Lay in a round, let bubbles form, flip, and press gently with a spatula or clean towel until it inflates. Gas burners add a charming char when you hold the pita with tongs directly over the flame for a few seconds. This method excels on summer days when you’d rather not heat the whole kitchen.
Texture, Color, and Timing
Color is flavor, but pita calls for restraint. You’re not chasing deep browning; you want just enough heat to set structure and bring a hint of toastiness. Overbaked pitas stiffen and resist folding; underbaked ones can taste doughy. Pull them earlier than you think and let residual heat finish the job under the towel. With repetition, you’ll dial in your oven’s sweet spot—every kitchen from Tall Grass to Ashbury has its own rhythm.
Troubleshooting Common Hurdles
No puff? Check thickness first, then heat. Too thick or too cool, and the pocket falters. If your dough felt dry at mixing, increase hydration next time; a moist dough produces more steam. If pitas puff partially but split, you may be rolling unevenly. Practice keeping the center slightly thinner than the edges. If you’re baking on a sheet pan, ensure it’s preheated; a cold surface saps energy at the critical moment.
Dense texture? Consider the first rest after mixing and kneading time. Letting flour hydrate and developing gluten sufficiently both help. Over-kneading is rare by hand but possible with a mixer; stop when the dough feels supple and lively, not tight. If flavor is flat, extend fermentation slightly or add a brief cold rest to nudge complexity forward.
Flavor Variations and Local Pairings
Classic pita is the ideal canvas for Naperville’s seasonal produce and favorite flavors. In late summer, tuck in charred zucchini, tomatoes, and herbs. In fall, roasted squash with tahini and a squeeze of lemon sings. A pinch of za’atar kneaded into the dough perfumes the kitchen; sesame seeds add nuttiness and a pleasing speckle. When grilling in the backyard, brush warm pitas with olive oil and rub with a cut garlic clove—the fragrance alone gathers people to the table.
By the time you’re cruising through your second batch, you might be thinking ahead to fillings. Imagining shaved meats, crisp pickles, and creamy sauces is easy if you let a shawarma-centric shawarma menu spark your creativity. Build meals with contrast: something crunchy, something juicy, and something cooling, all carried by a warm, tender pocket.
Storing and Reheating
Once baked, cool pitas on a rack but keep them covered with a towel to trap steam. Store at room temperature for a day or two in an airtight bag; for longer storage, freeze in a stack separated by parchment. Rewarm in a low oven, wrapped in a barely damp towel, or wake them up in a hot skillet for half a minute per side. Revived pitas become pliant and fragrant again, ready for dips or stuffing.
Planning Around a Busy Naperville Day
Mix your dough in the morning, let it rise while you’re out near Naper Settlement, then divide and rest when you return. Roll and bake just before dinner so the bread hits the table warm. If meetings or errands run long, refrigerate the risen dough and resume when you’re back; it will reward your patience with deeper flavor. For gatherings, double the batch and bake continuously, ferrying warm rounds to a towel-lined basket while friends build their favorite pockets.
Frequently Asked Questions
How thick should I roll pita for reliable pockets?
A quarter inch is a dependable target. Keep the center slightly thinner and the edges a hair thicker to encourage a uniform balloon. If you go thinner, the layers can fuse; thicker, and steam struggles to separate them.
Stone, steel, or sheet pan—does it really matter?
All can work, but a preheated stone or steel stores more heat and delivers more dramatic puff. An inverted, preheated sheet pan is a solid alternative. Whatever you choose, the surface must be blazing hot before the first round hits it.
Can I make the dough in advance?
Yes. After the first rise, refrigerate for up to 24 hours. Let it warm before dividing and rolling. Cold dough resists shaping, so give it time to relax. Flavor often improves with this schedule-friendly approach.
Why do my pitas tear when I fill them?
They may be overbaked or cooled uncovered, which dries the crust. Pull them a shade earlier, keep them wrapped in a towel as they cool, and rewarm slightly before stuffing. Also layer fillings thoughtfully: put greens or roasted vegetables down first to act as a moisture buffer.
Do I need sugar in the dough?
A small amount helps browning and supports yeast, but it’s optional. Even without added sugar, fermentation will proceed; your pitas may just color more softly. If you prefer a paler, softer result, reduce or omit it.
How long do leftovers keep?
At room temperature, eat within two days for best texture. Frozen pitas keep well for a couple of months. Reheat gently to restore flexibility, and avoid microwaving uncovered, which can toughen the surface.
If you’re excited to turn today’s practice into tonight’s dinner, trust your instincts and let the rhythm of the bake guide you. Warm a skillet, chop a few crisp vegetables, and put out a bright sauce. And when you want flavor ideas to round out your spread, a quick browse of a Mediterranean menu will help you build a meal that feels right at home in Naperville.