If your pitas refuse to puff or your pockets tear the moment you try to fill them, you’re not alone. In Naperville kitchens—from sunny apartments near the Riverwalk to family homes tucked close to Springbrook Prairie—bakers are tackling the same set of pita challenges and learning how to solve them with a few practical tweaks. I’ve spent years talking with local cooks, testing batches through humid summers and dry winter days, and gathering the little lessons that transform frustration into hot, pillowy rounds that open like a dream. Before you give up on homemade pitas, let’s walk through what really matters, why it matters, and how you can fix it tonight. And if you ever want to compare your results with what the pros are doing around town, study a well-balanced Mediterranean menu and notice the textures and pairings that make a pita sing.
The core truth is simple: pita success rides on steam and structure. You need strong enough gluten to trap steam, dough that’s rolled evenly to encourage a uniform bubble, and heat fierce enough to inflate the bread before it dries out. Each of those steps can falter for reasons that change with Naperville’s seasons—dough hydrates faster in summer humidity, ovens lag on the coldest days, and proofing can take longer when your kitchen runs cool. Once you understand these variables, you can compensate with confidence and turn out the kind of pitas that split neatly and hold generous fillings without crumbling.
When your pita won’t puff
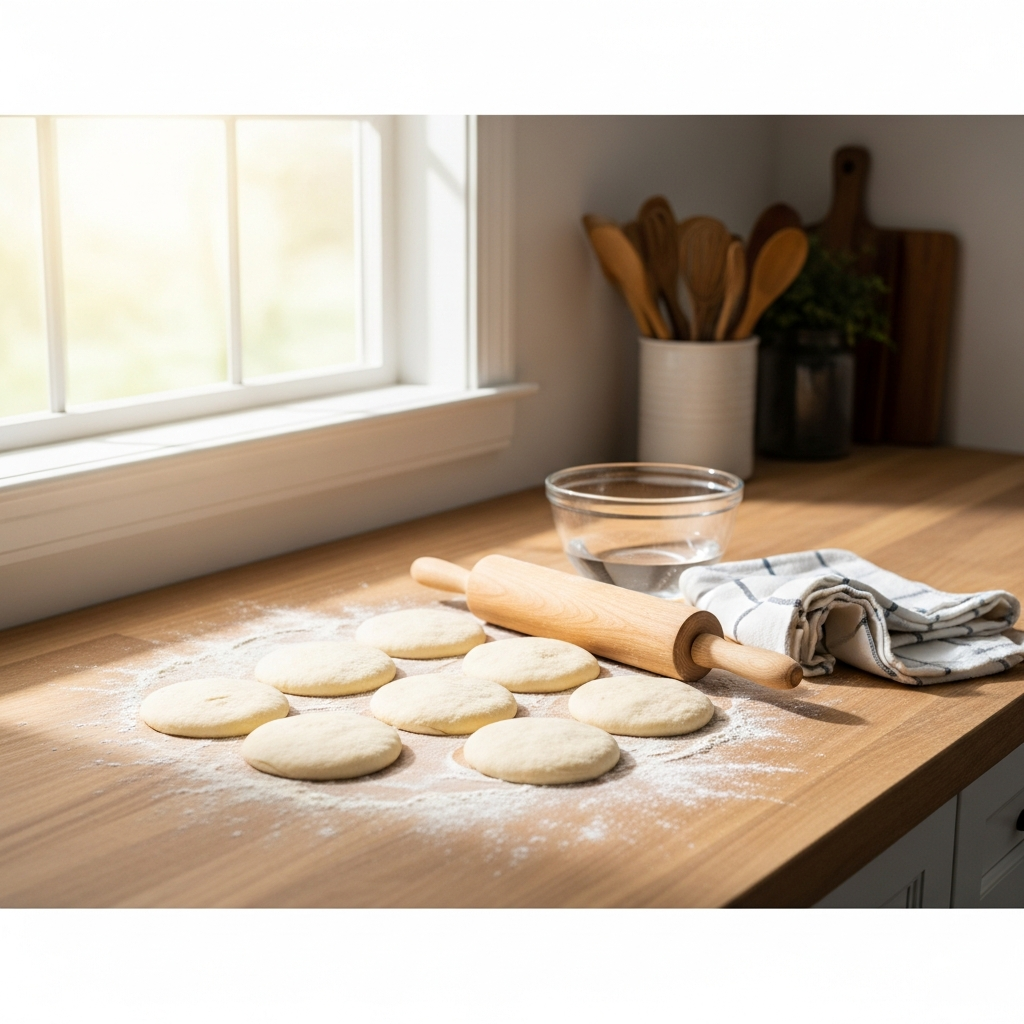
No puff usually means either insufficient heat or uneven thickness. Home ovens sometimes lie about their temperature, especially after years of service. A simple fix is to preheat longer than you think—give your stone or steel a full forty-five minutes at high heat so it radiates energy the moment dough hits. On grills or stovetops, let cast iron preheat until a drop of water sizzles away in a heartbeat. As for thickness, aim for uniformity. If one edge is thicker, steam will escape through the thin side before a pocket forms. Roll gently from the center outward, rotating the dough as you go, and stop before it becomes translucent. This sweet spot lets steam build a balloon inside the bread.
Hydration matters, too. A slightly wetter dough creates more steam. If your winter kitchen runs dry, add a touch of water to your dough and keep it covered during rests. Conversely, in peak summer humidity, dust lightly with flour as you roll so the dough doesn’t stick and tear. Small adjustments pay off quickly; I’ve seen previously stubborn pitas swell proudly once the hydration and heat align.
When pockets tear or breads turn brittle
Fragile pockets often come from overbaking. The goal is just long enough to set the structure and trap steam, not so long that the crust stiffens. Watch for the dramatic puff, then give it another brief moment to set before pulling the pita. Wrap it in a towel to keep the steam gentle as it cools. If you’re cooking on the stovetop, keep the heat high but the time short; flip when bubbles appear and finish quickly.
Dough strength also affects tearing. Proper kneading—or a series of short rests that allow gluten to develop—helps the dough stretch rather than snap. I like the “rest and fold” method in busy Naperville kitchens: mix, rest for ten minutes, give a few quick folds, rest again, repeat. The dough strengthens without a long kneading session, which is handy if you’re juggling homework help and dinner prep.
When flavor falls flat
Sometimes you nail the pocket but miss the pleasure. Flat flavor often means the dough needed a slower rise. A cool, patient fermentation develops the wheat’s natural sweetness and aroma. In winter, let the dough rest longer on the counter or give it a brief spell in the fridge to stretch the timeline. A small splash of olive oil or a touch of honey can round out flavor and help browning, but restraint matters; you want the pita to remain a gracious backdrop to bold fillings.
Salt calibration is another quiet lever. Too little and the bread tastes dull; too much and it competes with the meal. Taste a pinch of raw dough—if it’s bland, consider a slight increase next time. And don’t underestimate the finishing moment: brush warm pitas with a whisper of olive oil and, if you like, a dusting of za’atar or sesame seeds. The goal is a subtle aroma lift, not a takeover.
When shape and size feel inconsistent
Uneven rounds usually trace back to rolling technique and bench flour. Work with small, evenly divided dough balls, rest them so the gluten relaxes, and dust your surface lightly—too much flour makes the dough slide without stretching evenly. Rotate the dough as you roll, and stop before the center becomes dramatically thinner than the edges. Consistency here creates consistency in the oven, where similarly sized rounds bake at similar speeds, keeping your batch in sync.
If you prefer pocket pitas for stuffing, keep them slightly thicker than you would for scoop-and-tear rounds. Thicker pitas develop pockets with more structural integrity. For mezze-style, thinner pitas tear beautifully for dipping, but they’re less reliable as containers. Decide how you plan to serve them, then roll to match that purpose.
Managing Naperville’s seasons
Our weather shapes our dough. In summer, warm kitchens accelerate fermentation; watch the clock less and the dough more. It should feel airy and relaxed, not collapsed or overproofed. In winter, give yourself more time and consider warming a small corner of the kitchen—an oven light or a proofing box helps. Adjust hydration a smidge either way to keep dough supple. These are small acts of attention that lead to big payoffs in your pocket formation and crumb tenderness.
Humidity also influences storage. On muggy days, wrap cooled pitas in breathable cloth before sealing them to prevent sogginess. In dry, heated homes during winter, store them with a piece of slightly dampened parchment to maintain a gentle moisture cushion. The goal is to keep the bread soft and pliable until you’re ready to serve.
Skillet, oven, or grill?
Each heat source can produce excellent pitas with minor technique shifts. In the oven, a stone or steel concentrates heat so rounds puff quickly. On the stovetop, a preheated cast-iron skillet excels at creating deep, dramatic bubbles; flip as soon as the first large bubbles rise. On a grill, close the lid briefly to trap heat and encourage the pocket, then rotate for even charring. In all cases, be ready with a towel-lined basket so finished pitas stay warm and steamy while you cook the next batch.
If your kitchen is small, the skillet route shines because you can make one or two at a time and serve immediately, turning the cooking itself into a social moment. Guests love watching a round balloon on the skillet, and the cook gains immediate feedback—if a pita refuses to puff, you can tweak thickness or heat on the fly and see the difference on the very next one.
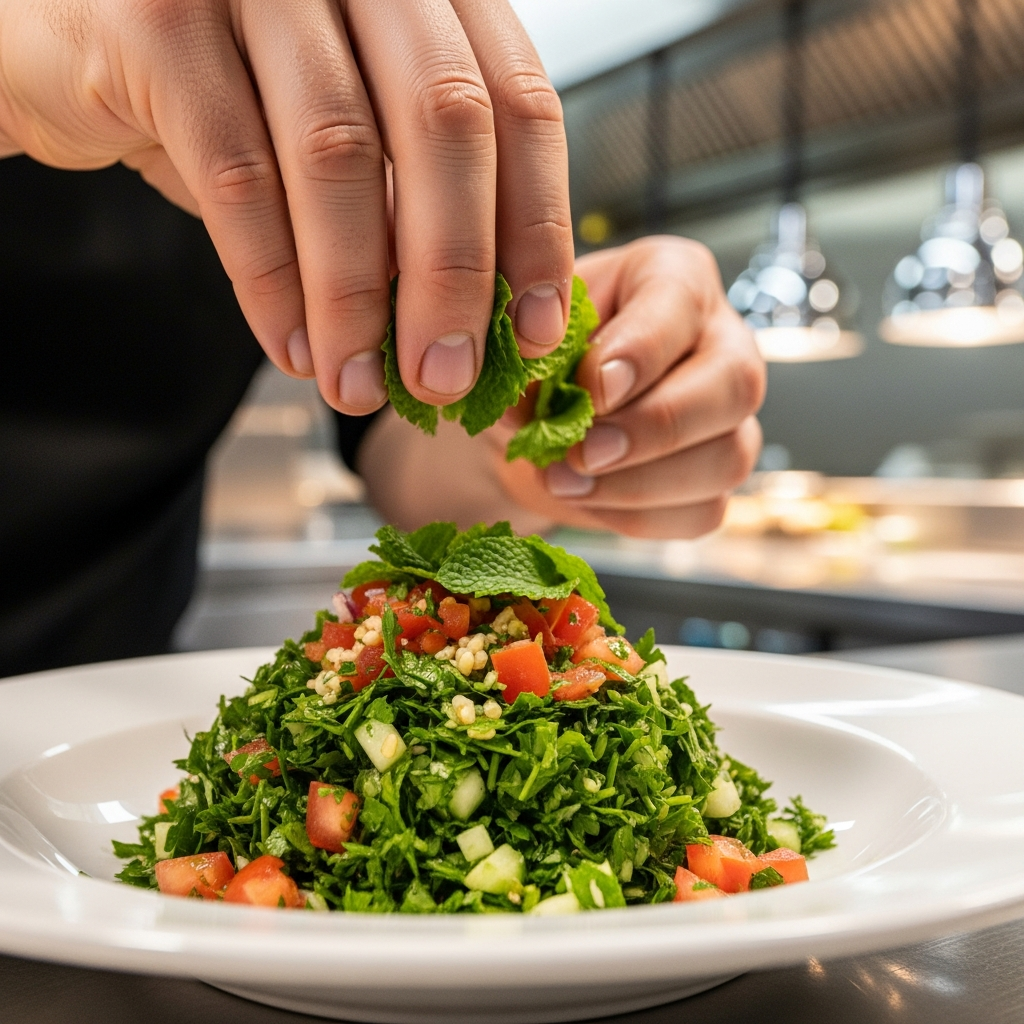
Filling without fuss
Even a perfect pita can fail if you overload it. Think like a builder: a protective layer at the bottom (hummus or yogurt), crisp greens as a cushion, then your main filling—grilled chicken, roasted vegetables, spiced legumes—tucked toward the center. Add juicy elements like tomatoes last to prevent early sog. A light hand with sauces keeps the structure intact. When you bite in, you want harmony, not a cascade of escapees tumbling onto the plate.
Temperature contrast brings pitas to life. Warm bread with cool, crunchy fillings tastes vivid and keeps textures distinct. If everything is warm, the pocket softens too quickly; if everything is cold, the bread’s aroma stays muted. A quick reheat of the pita and a chilled salad inside strike the right chord.
Rescuing day-old or stubborn batches
If your pitas turned out stiff, wrap them in a barely damp towel and warm them briefly in a low oven or microwave—just enough to reawaken flexibility. For truly stubborn rounds, slice into wedges, brush with olive oil, and toast into chips for salads or snacking. No batch needs to be a loss; it can simply change roles at the table. This mindset eases the pressure on perfection and turns every bake into a learning experience.
For flavor-limp pitas, consider a fast finish: brush with garlic-infused oil and warm them on a skillet until fragrant, then serve with a bright, lemony salad. This last-minute lift can transform an otherwise forgettable round into something your guests reach for first.
Learning from local plates
When troubleshooting at home, it helps to taste attentively when you dine out. Notice how the best pitas in town balance tenderness with a hint of blistered flavor, and how they hold up under juicy fillings without turning tough. Pay attention to layering—crunch against cream, heat against coolness—and take mental notes on thickness and char. A quick scan of a restaurant’s menu can also teach you which sauces and herbs awaken a pita without weighing it down. Bring those insights into your next bake, and you’ll close the gap faster than you expect.
FAQ: Fixes at a glance
Why won’t my pita puff? You likely need more heat or more even thickness. Preheat your stone or skillet thoroughly and roll the dough uniformly, stopping before it turns translucent. A slightly wetter dough also helps build steam quickly.
How do I keep pockets from tearing? Bake just until puffed and set, not until crisp. Wrap finished pitas to cool gently, and strengthen dough with short rests and folds so it stretches rather than snaps under fillings.
What if my pita tastes bland? Give the dough more time to ferment for deeper flavor. Adjust salt carefully and consider a faint brush of olive oil after baking to lift aroma without making the bread heavy.
How should I store pitas in different seasons? In humid weather, cool completely and wrap in breathable cloth before sealing; in dry months, add a touch of moisture protection so they don’t turn brittle. Reheat gently to restore flexibility.
Which cooking method is best at home? All can work. Ovens with stones or steels provide reliable puff; skillets offer control and spectacle; grills add smoky notes. Choose the method that fits your space and schedule.
How do I avoid soggy results once filled? Layer a moisture barrier like hummus, add crisp greens, keep juicy items central, and use light amounts of sauce. Serve soon after assembly so the bread keeps its pleasant chew.
If you’re ready to turn troubleshooting into triumph, warm your skillet, roll a few rounds, and invite someone to join you for the first puff. Confidence grows with every batch, and the reward is unmistakable: a soft, steamy pocket that holds your favorite Naperville flavors. For days when you want fresh ideas on fillings and pairings, a quick look at a local Mediterranean menu can spark your next great combination. Then bring it home, make it your own, and enjoy the pleasure of pitas that work beautifully, every time.