There’s nothing quite like a warm pita that sighs a little steam when you tear it open. In Naperville kitchens, we chase that small joy whether we’re prepping midweek lunches after a walk along the Riverwalk or setting a patio table for friends as the sun slips behind the trees. But life gets busy, and fresh pitas don’t always meet the moment. The good news is that with a few smart storage and reheating habits, you can enjoy soft, tender pitas any day of the week—without fuss, waste, or disappointment. If you want pairing inspiration for what to tuck inside once they’re warm again, it helps to take cues from a thoughtful Mediterranean menu and bring those ideas straight into your own kitchen.
Storing pita is partly science, partly common sense. The goal is to guard against staling—when moisture migrates and starches crystallize—while protecting the bread from becoming soggy. Naperville’s seasons influence this dance. Humid summer days can make pitas limp if sealed warm, while dry winter air turns them brittle if left out too long. By paying attention to temperature, airflow, and timing, you can capture the sweet spot where the bread stays pliable and fragrant, ready to reheat to perfection.
Cooling counts more than you think
After baking or bringing pitas home, let them cool on a rack until they’re barely warm to the touch. This prevents trapped steam from condensing inside a bag, which can leave the bread damp and prone to sticking. Once cool, stack and wrap them in a clean towel to maintain a gentle moisture cushion. If you plan to eat them within a day, store the towel-wrapped stack in a bread box or a loosely closed paper bag. The towel slows drying; the airflow keeps excess moisture at bay. This simple step gives you flexible, flavorful bread for quick meals—handy when dinner competes with a school recital or a late meeting downtown.
If you know you won’t use the pitas within 24 hours, shift to short-term or long-term storage. For short term—two to three days—place the towel-wrapped stack in a resealable bag but don’t press out all the air; a bit of space prevents compression and sticking. Slide the bag into the refrigerator only if your kitchen runs very warm or humid; otherwise, room temperature is kinder to texture. For longer storage, the freezer is your best friend, as cold halts staling and preserves freshness when used properly.
Freezing pitas for the week ahead
Freezing keeps pitas at their best if you prepare them properly. Start by ensuring they’re fully cool. Separate each pita with a small square of parchment so they won’t fuse together, then place stacks in a freezer-safe bag or container. Expel most—but not all—of the air to reduce ice formation without smashing the bread. Label the bag with the date so you can rotate through your stash, and consider freezing in meal-sized portions. That way, you can grab exactly what you need for a picnic by the Riverwalk or a Wednesday night dinner without thawing the entire supply.
When stored this way, pitas keep their character for a couple of months. The key is to avoid temperature swings; freezer doors that open frequently can cause subtle thaw-refreeze cycles that foster ice crystals. Tuck your stash into a back corner where the temperature remains stable. A little planning delivers big payoffs on hectic days, when a warm, pliant pita can turn leftovers into a meal that feels fresh and intentional.
Thawing techniques that protect texture
Thawing is where many home cooks unintentionally compromise texture. The safest method is also the simplest: place the frozen pitas—still stacked with parchment—on the counter for 30 to 60 minutes until fully thawed. Keep them loosely covered with a towel so surface moisture can dissipate while the interior relaxes. If you’re in a rush, you can thaw gently in the microwave by wrapping a small stack in a barely damp towel and heating in very short bursts. Stop as soon as they’re flexible; overshooting dries the bread and makes it tough.
For outdoor gatherings or last-minute dinners, a skillet thaw-reheat combo works wonders. Set a dry skillet over low heat, lay in a pita, and cover briefly. As the bread warms, the last traces of ice melt evenly while the heat revives aroma. Flip once and remove before it toasts hard. The goal is suppleness, not crustiness—later, if you want a kiss of char, you can add it with a faster, hotter pass.
Reheating for maximum softness
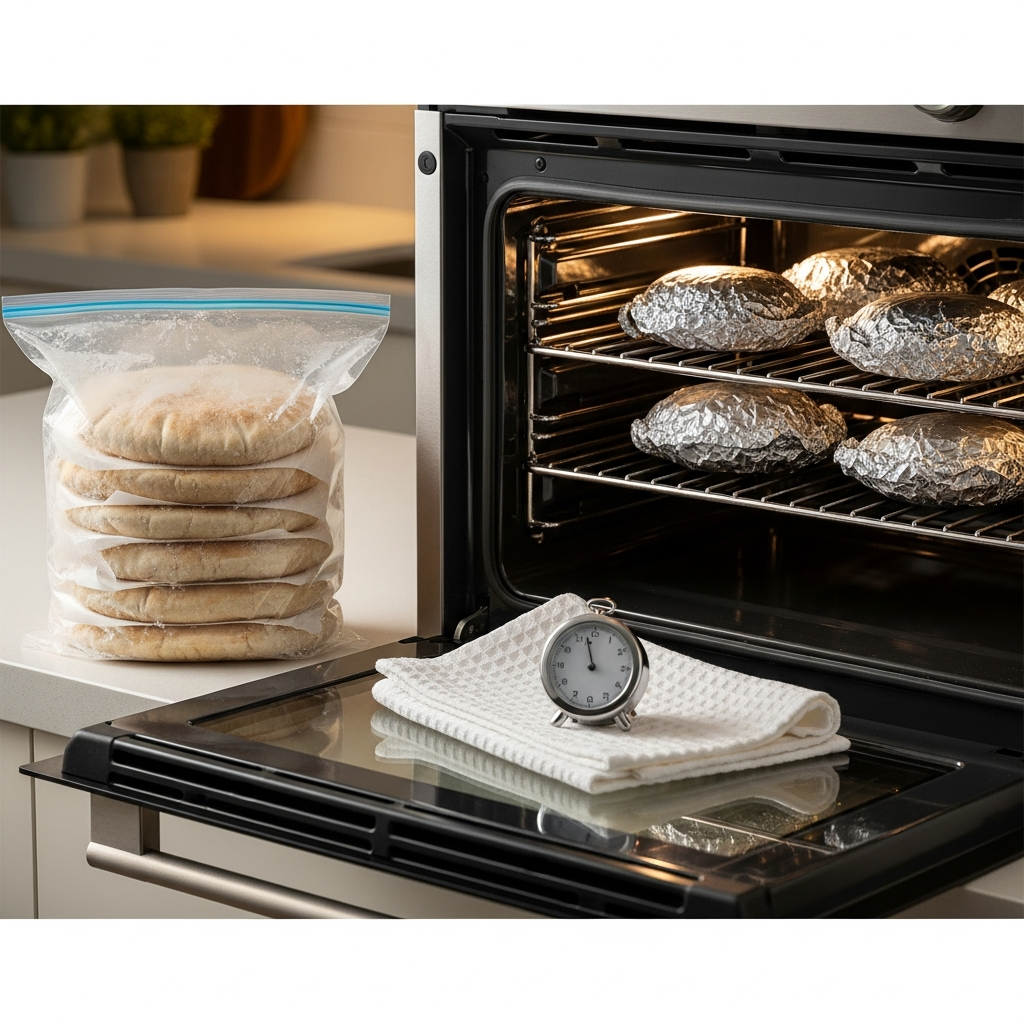
The very best reheats mimic bakery conditions: quick, hot, and slightly steamy. In the oven, preheat to a moderate-high temperature and slide in pitas wrapped in foil for a few minutes. The foil traps a gentle humidity that restores flexibility. If you prefer a more hands-on approach, use a skillet. Warm the pan over medium heat, brush the pita lightly with water or hold it briefly over a kettle’s steam, then lay it in the pan and cover for a minute before flipping. This quick steam-then-heat rhythm coaxes the crumb back to life.
Microwaves, used carefully, can be allies. Wrap a pita in a damp (not wet) towel and heat in very short intervals, checking after each burst. Stop as soon as it becomes pliable. To finish, a few seconds on a dry skillet or over a gas flame adds aroma and a hint of char. With practice, you’ll develop an instinct for the right balance: enough heat to wake the bread without driving off the moisture that makes it tender.
Keeping reheated pitas warm at the table
Once you’ve restored that supple warmth, keep it. Line a basket with a towel, nestle the pitas inside, and cover. The captured steam keeps them flexible for the first round of the meal. If you’re serving a crowd, rotate small batches through the oven or skillet so fresh pitas arrive every few minutes. This staggered approach mimics a restaurant rhythm and makes even a simple weeknight dinner feel like a special gathering. Guests tend to linger when bread arrives warm; conversation seems to follow the steam.
In backyard settings, I’ve used a lidded cast-iron pot set near—but not on—the grill as a holding chamber. The residual heat acts like a gentle proofing box, preserving softness without cooking further. It’s a small trick that keeps the bread inviting from the first bite to the last.
Avoiding sogginess when filling
Even a perfectly reheated pita can falter if fillings overwhelm it with moisture. Build with intention: a thin smear of hummus or yogurt can protect the interior, followed by crisp greens and then the main filling. Add juicy elements like tomatoes or cucumber salads at the center rather than near the cut edge, and wait until the moment you’re ready to eat before assembling. Temperature contrast helps, too—warm bread with cool fillings heightens flavor while reducing steam trapped inside the pocket.
If you’re packing lunches for a park meetup or a post-game snack, keep juicy components separate and combine them right before eating. This small bit of choreography preserves the bread’s chew and prevents the “slip and slide” that can send fillings tumbling out.
What to do with day-old or extra pitas
Day-old pitas make excellent kitchen building blocks. Slice them into wedges, toss with a touch of olive oil, and toast lightly for salads and dips. You can also transform them into layered breakfasts: lay a pita in a small skillet, top with sautéed vegetables and a whisked egg, then cover until set. The bread softens at the bottom and crisps at the edges, creating a satisfying base for a quick meal. For a cozy dinner, tear pitas into rough pieces, scatter them under roasted vegetables, and let the juices soak in—a rustic, comforting way to stretch flavor.
Kids often enjoy pita “chips” baked just until crisp; serve them with a bright yogurt dip and a handful of sliced vegetables. It’s a snack that feels festive without much effort, and it rescues bread that might otherwise be forgotten.
Seasonal smarts for Naperville kitchens
Our weather ebbs and flows, and so should your storage strategy. In humid months, cool pitas thoroughly and use breathable wraps before sealing; avoid stacking them while they’re still warm. In dry winter air, introduce a hint of moisture protection—a towel or parchment inside a container—to keep them from turning brittle. Carry these habits into picnics and potlucks: insulate warm pitas for the trip, then refresh briefly on site so they arrive ready to share.
When temperatures swing wildly, I plan a “pita night” midweek to rotate my stash. We warm a stack, set out bowls of crisp and creamy fillings, and let everyone build their own. The ritual turns inventory management into a gathering—one more reason to keep pitas on hand.
Learning from restaurant rhythms
Restaurants teach us how to balance speed and quality. Notice how pitas appear at the table warm but not scalding, soft yet sturdy enough to scoop. Pay attention to timing: breads emerge in waves, never all at once, so each guest gets that first, fragrant tear. If you’re designing your own dinner party, follow the same pattern. Have a skillet or small oven cycle ready, refresh a few pitas at a time, and keep a towel-lined basket at the center of the table. Watch how conversation swells with every new round.
Many home cooks find it helpful to scan a restaurant’s menu for ideas on sauces and textures that complement warm bread—brisk salads against tender pitas, creamy dips that don’t turn watery, and herbs that finish a bite with brightness. These cues help you choose fillings that respect the bread you’ve so carefully stored and reheated.
FAQ: Storage and reheating
Should I refrigerate fresh pitas? Only if your kitchen is very warm or humid. Otherwise, store them at room temperature for a day or two, wrapped in a towel and placed in a breathable container to prevent sogginess.
What’s the best way to freeze pita bread? Cool completely, separate with parchment, and seal in a freezer-safe bag with most of the air removed. Freeze in meal-sized stacks to make weeknight dinners and picnics easier.
How do I thaw pitas without ruining the texture? Let them come to room temperature under a towel for up to an hour, or use short microwave bursts wrapped in a damp towel, stopping as soon as they’re flexible. Avoid overheating.
What reheating method brings back softness? Quick, gentle steam followed by brief heat. Try foil-wrapped in a hot oven for a few minutes or a covered skillet with a light brush of water or a pass over steam.
How do I keep warmed pitas soft during a meal? Stack them in a towel-lined basket and cover. Serve in small waves so there’s always a fresh, warm round arriving at the table without letting earlier ones cool and stiffen.
How can I prevent sogginess once I add fillings? Build with a moisture barrier like hummus, keep juicy items central, and assemble right before eating. Warm bread plus cool, crisp fillings keeps the structure and flavor lively.
If you’re ready to make warm, soft pitas a reliable part of your week, start with smart storage today and plan a simple dinner where the bread shines. Refresh a stack, bring the family to the table, and let the first tear set the mood. And when you want fresh ideas on what to tuck inside, browse a local spot’s Mediterranean menu and turn those flavors into the comforting, shareable meal that makes every night in Naperville feel a little more special.