Embarking on the adventure of baking pita bread from scratch is both rewarding and enlightening. This guide is crafted to assist beginners in mastering the art of creating this beloved flatbread, ensuring every step is covered from starter to finish.
Getting Started with the Basics
The journey begins with understanding the essential ingredients that make up pita bread. You’ll need flour, water, yeast, and salt. Opting for high-gluten flour can enhance the elasticity of your dough, crucial for forming the perfect pocket. Initially, combine the yeast with warm water to activate it, then gradually mix in your flour and salt.
Kneading is the next crucial step. This process can be therapeutic as you fold and press the dough, encouraging the gluten strands to develop strength. Once your dough is smooth and elastic, let it rest. This resting period is vital as it allows the yeast to work its magic, causing the dough to rise and double in size.
Rolling and Baking Your Pita
After the dough has sufficiently risen, divide it into small balls and let them rest briefly. Then, roll each ball into a thin circle. Thickness is key here; too thick, and your pita won’t puff. Too thin, and it might tear.
The baking process is where you see your efforts come to life. Preheat your oven to a high temperature — around 475°F (246°C) works best, mimicking the intense heat of traditional pita ovens. If you have a baking stone, use it; otherwise, a preheated baking sheet will suffice.
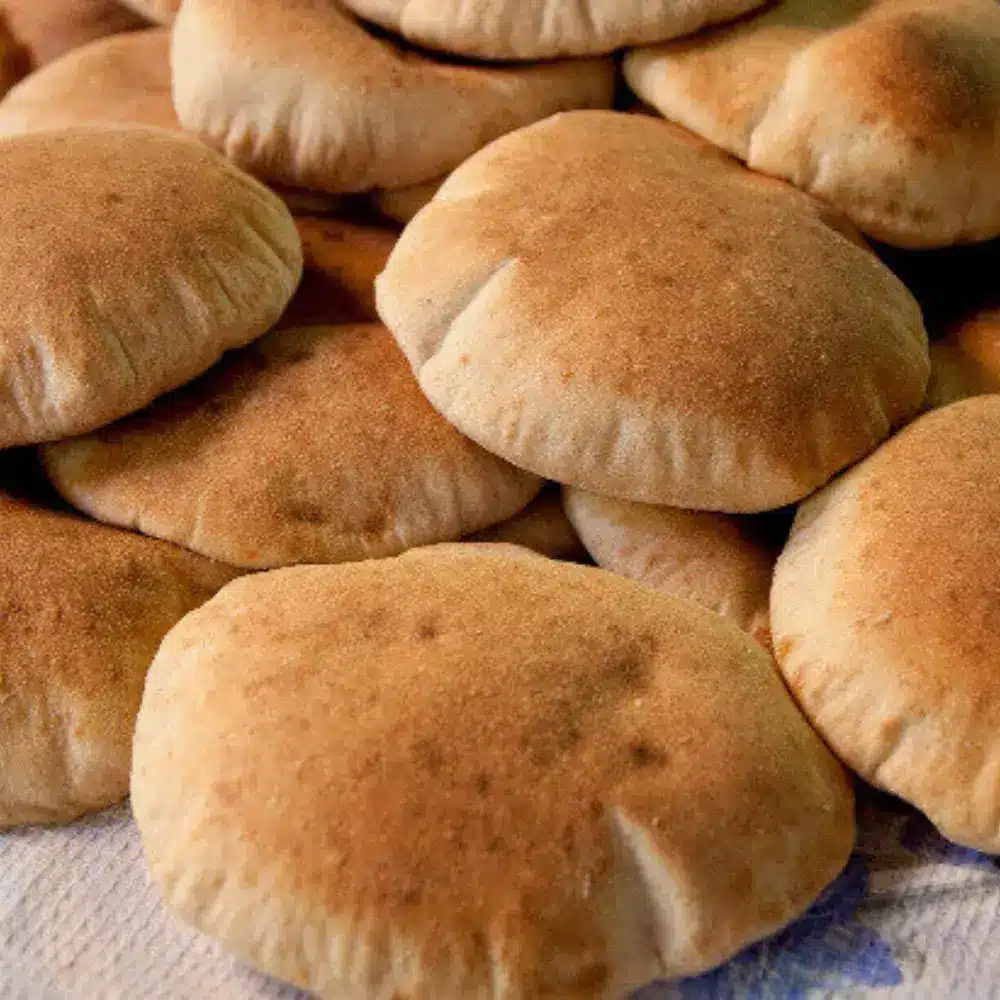
Place your rolled-out dough onto the hot surface, and within minutes, you’ll witness the dough puff up into that classic pita shape. This is the moment of truth, where steam inside the dough creates the hollow center so perfect for fillings.
Finishing Touches and Variations
Once baked, wrap your pita bread in a clean cloth to keep them soft and warm. Now, you can enjoy the fruits of your labor. Pita bread is incredibly versatile — fill them with your choice of savory ingredients, use them for dipping, or even experiment with sweet fillings.
For those looking to expand their pita bread repertoire, consider incorporating herbs like rosemary or za’atar into the dough for an aromatic twist. Each batch offers a chance to refine your technique and add personal touches.
This guide not only helps you create delicious pita bread but also encourages a deeper appreciation for the baking process. As you continue your baking journey, each pita bread you bake will not only serve as a testament to your growing skills but also add a homemade touch to your meals that cannot be replicated by store-bought alternatives.
Learn More