Gluten free pita bread is one of those bakes that feels like a small triumph every time it balloons with steam and opens into a pocket. In Naperville, where families balance busy schedules with a love for good food, it is especially rewarding to master a recipe that everyone at the table can enjoy. The key is understanding how to replace gluten’s stretchy network with a carefully built structure of starches, hydration, and binders, all while keeping flavor front and center. I like to set a welcoming tone, preheat the oven or skillet with conviction, and think about fillings as I mix. Sometimes I glance at a Mediterranean menu for pairing ideas, which helps me imagine the meal from the first stir of the batter to the final, satisfied bite.
Building structure without gluten
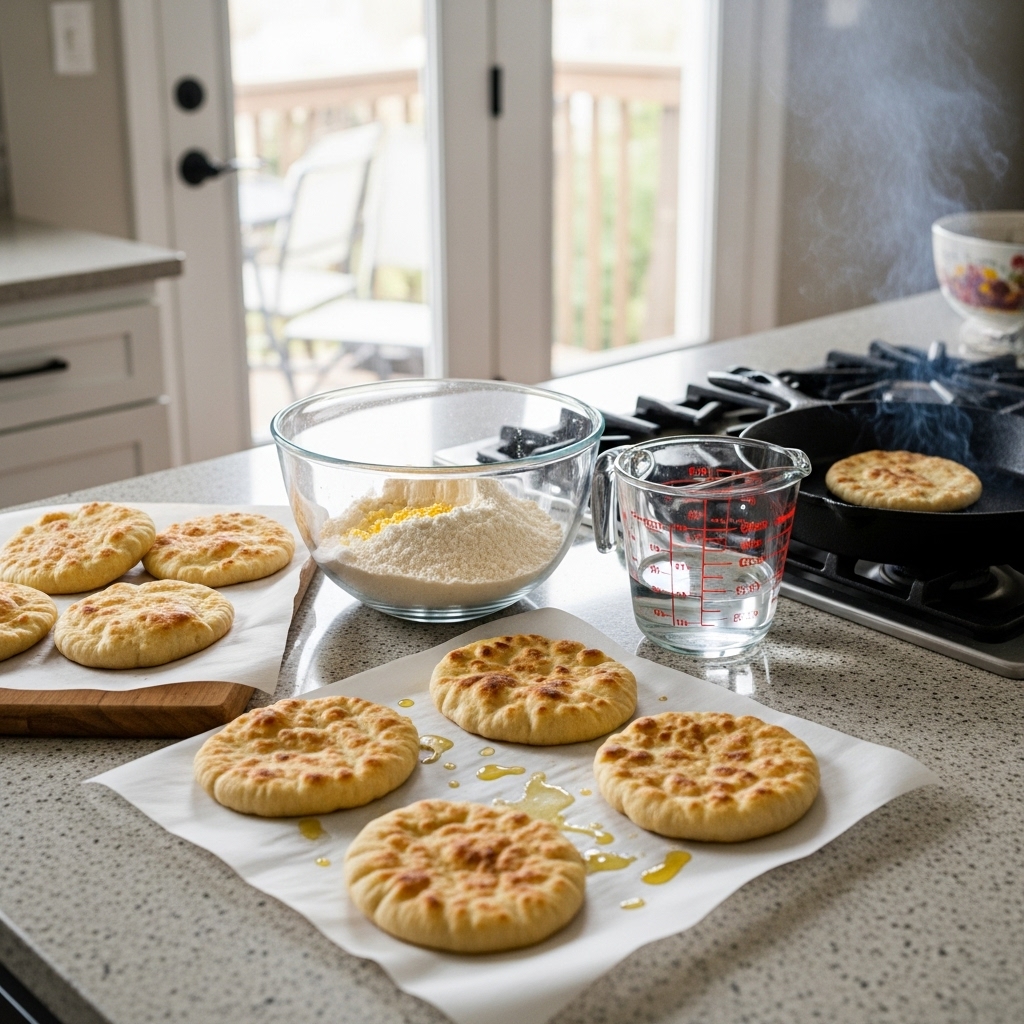
Traditional pitas rely on gluten to trap steam and create a pocket. In a gluten free kitchen, we create that structure with a blend of flours and binders. A good mix often includes a neutral base flour, a starch for lightness, and a binder such as psyllium husk or xanthan gum to provide elasticity and hold. Hydration is crucial: a slightly wetter dough or thick batter can set into a soft, pliable bread once it hits high heat. The sensory cues become your guide: the mixture should be cohesive and slightly tacky, not runny, and it should hold its shape long enough to be rolled or patted into discs.
Blooming yeast in warm water wakes up flavor and adds lift. Even though gluten free doughs do not get the same elastic stretch, yeast’s activity creates gas and aroma that translate into a satisfying texture. After mixing, a short rest allows the flours to hydrate fully, which improves handling. If the dough sticks to your hands excessively, a light coating of oil rather than extra flour helps maintain the right hydration while making shaping easier.
Shaping and cooking for a dependable puff
Divide the dough into even pieces and roll or pat them between sheets of lightly oiled parchment. Aim for a uniform thickness and smooth edges, which help the pocket form consistently. Transfer the discs to a hot surface—a preheated baking stone or steel in the oven, or a well-heated cast-iron skillet on the stovetop. High heat is essential for that quick burst of steam. You will see bubbles form, and with the right timing, the disc inflates into a dome before settling into a pocket as it cools.
When cooking on the stovetop, cover the skillet briefly to trap steam. This little step can make the difference between a flatbread and a true pocket. Flip once for even cooking, and move quickly, because gluten free doughs can dry out if left too long. The sweet spot is a tender crumb with light browning, a pliable center, and edges that are fully cooked but not crisp.
Flavor, aroma, and local rhythm
Naperville’s seasons offer natural variations. In spring and summer, bright herbs and crunchy vegetables make gluten free pitas feel especially fresh. As the leaves turn, roasted vegetables, spiced meats, and rich sauces bring comfort to the table. If you are looking for a quick boost of inspiration, scanning a favorite menu can spark ideas for sauces and fillings that complement the bread’s gentle flavor. Garlic, lemon, roasted peppers, and yogurt-based dressings all play beautifully with the delicate chew of a gluten free pocket.
A practical note about ovens and pans: consistency matters more than style. If your first batch does not puff as much as you hoped, give the cooking surface more time to heat, and check that your discs are rolled evenly. With gluten free doughs, evenness is especially important because there is less elasticity to compensate for thin spots. Keep the first two discs as tests, observe how they behave, and adjust heat or thickness for the rest.
Troubleshooting without stress
If the pitas are cracking when rolled, the dough may be too dry. A teaspoon of water worked into the dough can help. If the discs seem wet and are hard to transfer, chill the dough briefly to firm it up, or shape directly on parchment that you can slide onto the hot surface. If they are not puffing, focus on heat and thickness; a slightly thicker disc sometimes holds steam better, while a hotter surface jump-starts the pocket. And if a batch turns out flat, treat them as wraps or tear-and-dip flatbreads—no effort is wasted in a kitchen that treats flexibility as a virtue.
Storage is straightforward. Cool completely, keep in an airtight bag for a day or two, or freeze between sheets of parchment. Reheat gently in a warm oven wrapped in foil, or on a hot skillet with a quick cover to trap steam. The goal is always to restore softness and pliability without drying the bread. This makes gluten free pitas a dependable option for weeknight dinners and weekend gatherings alike.
Shaping a meal around the pocket
What makes gluten free pita so enjoyable is how it anchors a meal. Build a spread of crisp greens, roasted vegetables, and a protein of your choice, then add a creamy sauce to bring it all together. The pocket keeps hands tidy and bites composed, which is especially helpful when feeding kids after soccer practice at Frontier Sports Complex or when friends drop by after a riverfront stroll. The bread’s mild flavor invites bold fillings, and the tender crumb makes each bite satisfying without heaviness.
When the kitchen is busy, I like to set a rhythm: mix and rest the dough, preheat the cooking surface, shape several discs, and cook two at a time. Slip the finished pitas into a towel-lined basket so they stay warm and flexible. When the last one comes off the heat, the first ones will be just right for stuffing. It is a cadence that fits well with Naperville life, where meals are often shared with friends and family who live just a few doors down.
Frequently asked questions
What gluten free flour blend works best?
A blend that includes a light base flour, a starch for lift, and a binder such as psyllium husk or xanthan gum provides structure and tenderness. Start with a reliable mix, then adjust hydration as needed to achieve a soft, cohesive dough that is easy to roll.
How do I get a reliable pocket without gluten?
High heat, even thickness, and a covered cook during part of the process help trap steam. Roll or press the discs evenly, preheat your surface thoroughly, and cover the skillet briefly to encourage steam inflation. Small adjustments in thickness often make a big difference.
Can I make the dough ahead?
Yes. Mix and rest the dough, then store it covered in the refrigerator for up to a day. Bring it to room temperature before shaping. The chill allows flours to hydrate and flavors to deepen, making it a great option for busy days.
Why are my pitas dry?
Overcooking and low hydration are common reasons. Keep cook times short, maintain high heat, and cover briefly to retain moisture. If the dough feels stiff, add a teaspoon of water and knead it through gently.
How should I reheat?
Wrap pitas in foil and warm in a low oven, or place them on a hot skillet and cover for a minute to re-steam. Avoid unwrapped microwaving, which can toughen the texture. Reheating with moisture preserves flexibility.
What fillings complement gluten free pita?
Bright salads, grilled or roasted meats, smoky spreads, and tangy sauces all pair well. Lean into seasonal produce around Naperville, and let acidity and freshness balance richer components.
If you are ready to bring gluten free pitas into your rotation, set your oven to preheat, gather fresh ingredients, and imagine the fillings that will make your table feel generous and welcoming. For a quick flavor compass that echoes local favorites, take a glance at a Mediterranean menu, choose a few vibrant combinations, and let the heat do the rest. When the first pocket puffs, you will know you have something special—bread that brings everyone together, effortlessly and deliciously.