There is something about making pita bread from scratch that feels perfectly at home in Naperville, where neighborhood kitchens are lively on weeknights and weekends, and the scent of a warm bake can drift out into quiet cul-de-sacs. On a crisp afternoon by the Riverwalk or a busy evening before a family gathering, homemade pita has a way of pulling people toward the table. It is a simple dough, but it offers a remarkable moment of theater when it balloons in the heat, separating into tender layers that are ideal for stuffing or tearing and dipping. In the first rise you can tidy the counters, in the second you can set a platter of vegetables, and by the time the skillet is hot, you will be anticipating that first pocket. If your kitchen is anything like mine, that first puff wins applause as surely as a summer concert at Rotary Hill.
For inspiration, I like to think about what might fill those pockets as I mix the flour and water, and I sometimes glance at a Mediterranean-style menu to spark ideas. That little habit nudges the flavor profile of the meal: maybe crisp cucumber and tomatoes when the Naperville Farmers Market is in full swing, or roasted squash and garlicky yogurt when fall color lines the DuPage River. Either way, the dough itself stays consistent and forgiving, which is why it is such a reliable staple for both seasoned bakers and first-timers.
A Naperville kitchen approach to pita dough
Homemade pita begins with a comfortable mise en place. Clear your counter, set out a sturdy mixing bowl, and make sure your yeast is fresh. The best pitas start with a proper bloom: dissolve yeast in warm water with a whisper of sugar until it foams like a cappuccino along Jefferson Avenue. That foam tells you the yeast is awake and eager. Stir in part of the flour to form a shaggy batter, add salt for balance, and then drizzle in a bit of oil to keep the crumb tender. As the dough comes together, it should feel supple, not sticky; add flour in small increments, kneading until the dough turns smooth and slightly springy, like a stress ball that bounces back when pressed.
In Naperville’s varied seasons, the environment matters. On humid July afternoons, the dough may need a touch more flour to counter the moisture in the air; on drier winter days when the wind comes off the prairie, a teaspoon or two more water creates an ideal texture. Cover the bowl and set it in a warm, draft-free spot—the top of a preheating oven, a sunny window over a backyard where kids toss snowballs at Centennial Beach fields, or simply your countertop on a calm day. When the dough doubles, usually within an hour, you are ready for the second phase.
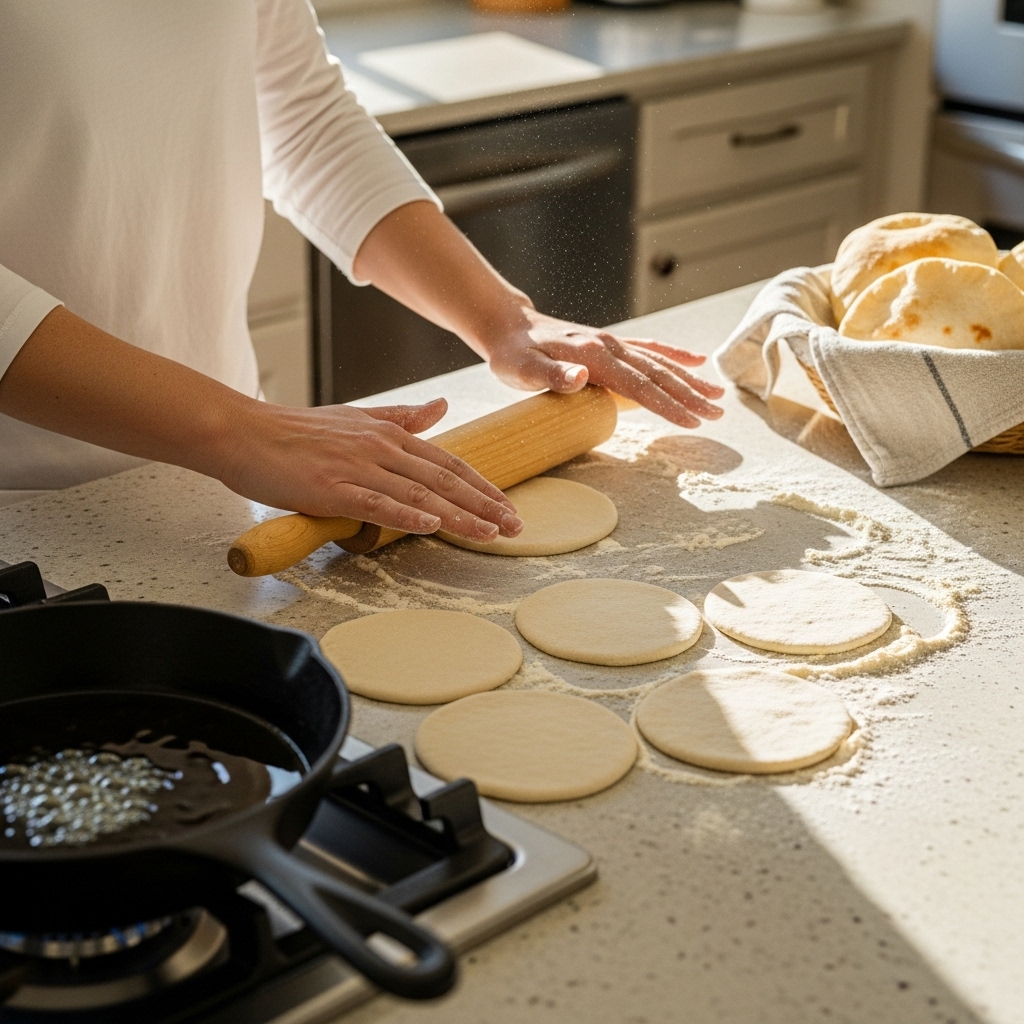
Shaping for the pocket
Turn the dough onto a lightly floured surface and divide it into even pieces, mindful that uniform size helps ensure uniform puff. Roll each portion into a smooth ball and let them rest, covered, for ten to fifteen minutes. This brief pause relaxes the gluten, which makes rolling easier and prevents shrink-back. When you roll a ball into a disc, aim for even thickness from center to edge—about the width of a nickel. The most common reason pitas fail to balloon is uneven rolling, so take your time. A moment’s attention here pays off later when the oven or skillet works its steam-driven magic. As you line up the discs beneath a towel, preheat your baking surface until it is ripping hot.
That heat is everything. Whether you use a baking steel, a preheated cast-iron pan, a pizza stone you bought in town, or a heavy baking sheet flipped upside down for easier loading, give it a proper preheat. You can bake at a high temperature or cook on the stovetop, and each method has its charm. The oven offers dramatic puffing as the discs hit the scorching surface, trapping steam and separating into layers. The skillet gives you direct control and a pleasant char. The trick is to watch for those early bubbles; once they appear, a quick flip can encourage the pocket to inflate fully, like a miniature hot-air balloon lifting over Knoch Knolls Park at dawn.
Timing and texture
Patience and decisiveness create the best texture. If the pitas are pulled too soon, they can collapse before setting. If they are left too long, they turn cracker-crisp. Aim for a just-cooked tenderness, with pale golden spots and a soft, bendable structure. Slip each pita into a clean kitchen towel the moment it is done, letting their shared warmth keep them pliable. I often find that by the time the last round comes off the heat, the first round has cooled to the perfect temperature for tearing. It is then that the house fills with the irresistible call to snack—someone inevitably appears with a bowl of hummus or a plate of olives, and a casual tasting session begins.
Midway through the process, I also like to think about how these pitas will be served. If you plan to build sandwiches, consider seasoning the dough lightly with a pinch of dried oregano or adding a swirl of olive oil just before the final knead to scent the bread. On those nights when you want flavors that echo a favorite local Mediterranean spot, peeking at a familiar menu can help you pair the bread with complementary fillings—spiced rotisserie meats, lemony salads, or smoky spreads.
Filling ideas grounded in the seasons
In spring, when the Riverwalk blooms and the air smells of rain, lettuce and radish bring crispness that works beautifully with creamy feta and dill. Summer calls for juicy tomatoes and cucumbers, perhaps a quick yogurt sauce with mint snipped from the garden. Autumn welcomes roasted root vegetables, caramelized onions, and the cozy warmth of cinnamon or cumin. In winter, slow-cooked stews and roasted chicken find a natural companion in warm pita, and the kitchen becomes a cocoon against the cold. These seasonal variations keep the ritual of pita-making fresh, ensuring the process becomes a staple of your cooking life rather than a one-time experiment.
Another joy of homemade pita is the freedom to calibrate thickness. Thinner pitas are perfect for crisp chips or to use as a scoop for dips; slightly thicker pitas make pocket sandwiches that stand up to substantial fillings. If you ever wonder whether yours will hold up to a saucy mixture, give the cooked pitas a pinch: if they spring back, they are strong enough; if they dent and stay dented, they will be better torn and dipped than stuffed.
Troubleshooting in real time
If your pitas are not puffing, the most likely culprits are insufficient heat, uneven rolling, or dough that is too dry. Check the heat first—give your baking surface more time to preheat or bump the temperature. Revisit your rolling technique and ensure the edges are not thinner than the center. For dry dough, a slightly damp towel on the resting discs helps; it gives a whisper of moisture that transforms into steam. When cooking on the stovetop, press gently on stubborn spots with a spatula to encourage rising. The learning curve is gentle, and each batch gets better, much like your timing on a morning jog through the Riverwalk improves with practice.
Storage is straightforward. Once cooled, tuck pitas into a zip-top bag and keep them at room temperature for a day or two. For longer storage, freeze with parchment between layers, then reheat directly on a hot skillet or in a warm oven wrapped in foil. The bread returns to life beautifully, and you will be grateful for a quick route to a weeknight dinner, especially on those busy evenings when the commute along Ogden Avenue runs long and appetites are mounting.
Hosting and sharing
Naperville kitchens are often full of guests—neighbors dropping by, family visiting from elsewhere in Chicagoland, friends gathering before a game or after a concert at Wentz Hall. When entertaining, a basket of warm pitas anchors the table. Arrange them next to bowls of colorful vegetables, marinated peppers, crumbly cheeses, and a centerpiece of something savory. Your guests will instinctively start to build their own bites, and the conversation will open up in the way that only a table of shared food can manage. I have seen shy neighbors become quick friends while assembling a pita, trading tips on the best local bakeries and the latest seasonal produce at the market.
There is also an educational pleasure to making pita with kids. The waiting teaches patience; the puffing sparks curiosity about heat and steam; the eating delivers a reward that keeps them coming back to help. I have found that giving a child their own rolling pin and a small piece of dough can turn a routine dinner into a memory. Their delight when the bread balloons is something special, and it helps grow their confidence in the kitchen just as surely as it grows yours.
Flavor variations without the fuss
Once you are comfortable with the basic dough, you can fold in flavor variations without complicating the process. A spoonful of whole wheat flour adds nuttiness, a sprinkle of sesame seeds adds crunch, and a touch of garlic powder or za’atar can perfume the bread so that it smells like a gentle breeze from a far-off market. The key is to keep additions modest so the bread still puffs. Too many inclusions can weigh down the dough, but a light hand preserves the essential steam pocket that makes pita so versatile.
The pleasure of pita is that it invites both simplicity and creativity. On a quiet weeknight, you might serve it with a straightforward salad and grilled chicken; on a celebratory weekend, you might lay out an array of spreads that turn your kitchen island into a feast. In either case, Naperville’s convivial spirit is reflected in the way people gather around the bread, reaching across the table and telling stories as they eat.
Frequently asked questions
How warm should the water be for blooming yeast?
A good target is warm to the touch but not hot—think of the temperature of a comfortable bath. If you want to be precise, aim roughly around the range that feels pleasant on your wrist. Too hot will harm the yeast, while cool water simply slows the bloom. In Naperville’s colder months, lukewarm water helps the process stay on schedule even if your kitchen is a bit chilly.
Do I need a baking stone or steel?
No special gear is required, although a preheated stone or steel delivers dramatic puff and even browning. A cast-iron skillet or a heavy sheet pan heated thoroughly will also work. The crucial element is high, steady heat, so preheating matters more than the exact piece of equipment. If your first batch is slow to balloon, give your baking surface more time to heat before the next round.
Why did my pita not form a pocket?
Uneven rolling is the most common cause, followed by insufficient heat and dry dough. Make sure the discs are uniformly thick, preheat aggressively, and let the dough rest so gluten relaxes. If needed, lightly moisten the resting discs so there is enough steam power to create the pocket.
Can I make the dough ahead of time?
Yes. Mix and knead the dough, let it rise until puffy, then store it covered in the refrigerator overnight. The next day, let it warm on the counter, shape, and cook. The flavor deepens with a slow chill, which is a bonus on busy weekdays when you want dinner to come together quickly after errands near downtown or along Route 59.
What should I serve with homemade pita?
Anything that benefits from a soft, warm, slightly chewy canvas. Grilled meats, roasted vegetables, creamy dips, crisp salads, and tangy sauces all shine. Consider the season and use what is freshest around Naperville to guide your spreads and fillings.
How do I reheat without drying the bread?
Wrap pitas in a clean, slightly damp towel and warm them gently in a low oven, or place them briefly on a hot skillet to restore flexibility. Avoid microwaving without a cover, which can toughen the texture. A little steam works wonders.
If tonight is the night you turn your Naperville kitchen into a mini bakehouse, set out your mixing bowl and embrace the process. In just a short stretch of time, you will have a stack of warm pitas and a table full of happy faces. And if you want ideas for pairings that echo local favorites, browse a Mediterranean-style menu, gather your ingredients, and let the aroma lead the way. When the last pita comes off the heat, tuck it into the towel, call everyone to the table, and enjoy the simplest kind of feast—one you made with your own hands.