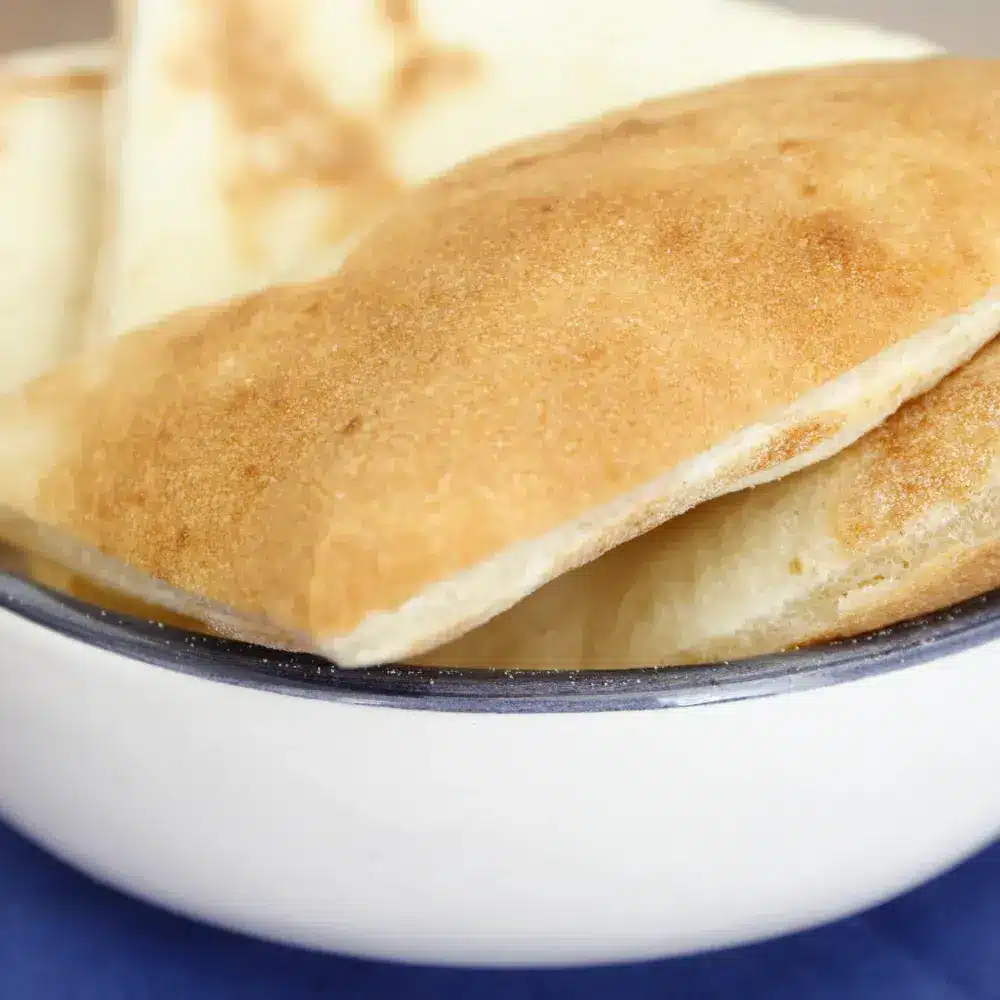
Pita bread, with its soft texture and delightful pocket, is a versatile staple that can elevate any meal. Making pita bread at home may seem daunting, but with the right techniques, you can achieve perfect results every time. This guide will walk you through the essential steps and expert tips to master the art of pita bread making.
The Perfect Dough
Creating the perfect pita bread starts with the dough. Using high-quality ingredients is crucial. Begin with bread flour, which has a higher protein content to give your pita bread the desired chewiness. Combine the flour with yeast, warm water, a bit of sugar to activate the yeast, and a pinch of salt. Knead the mixture until it forms a smooth, elastic dough. Allow it to rise in a warm place until it doubles in size, usually about an hour. This fermentation process develops the flavor and texture essential to authentic pita bread.
Shaping and Cooking
Once the dough has risen, divide it into small, equal portions. Roll each portion into a ball and let them rest for a few minutes. This resting period relaxes the gluten, making it easier to roll out the dough. Use a rolling pin to flatten each ball into a thin, even circle, about a quarter-inch thick. The even thickness is key to achieving the classic pita pocket during baking.
Expert Baking Tips
For the best results, bake your pita bread in a preheated oven with a baking stone or an inverted baking sheet. The high heat mimics the traditional clay ovens used in Middle Eastern baking, creating the necessary steam to puff up the pita. Place the dough rounds directly onto the hot surface and watch as they balloon into perfect pockets. Bake until they are lightly golden and puffed, about 3 to 5 minutes. This rapid baking process ensures that the pita bread remains soft and pliable.
Another technique to consider is baking the pita bread on the stovetop. Heat a heavy-bottomed skillet or cast-iron pan over medium-high heat. Cook each rolled-out dough circle for about 2 minutes on each side, or until they puff up and develop golden spots. This method allows for better control over the cooking process and can yield equally delicious results.
Mastering pita bread making involves a blend of precise techniques and quality ingredients. By following these expert tips, you can enjoy fresh, homemade pita bread that rivals any bakery. Perfect for stuffing with your favorite fillings or serving alongside dips, homemade pita bread brings a touch of culinary artistry to your kitchen.
Learn More
Why Pita Bread is a Staple in Mediterranean Diets: A Deep Dive
Pita Bread for Health Enthusiasts: Nutritional Benefits and Recipes

