Creating the perfect homemade pita bread involves a blend of simplicity and craft. This guide will explore essential techniques and provide practical advice to help you bake pitas that are light, fluffy, and ready to fill with your favorite ingredients.
Understanding the Basics of Pita Bread
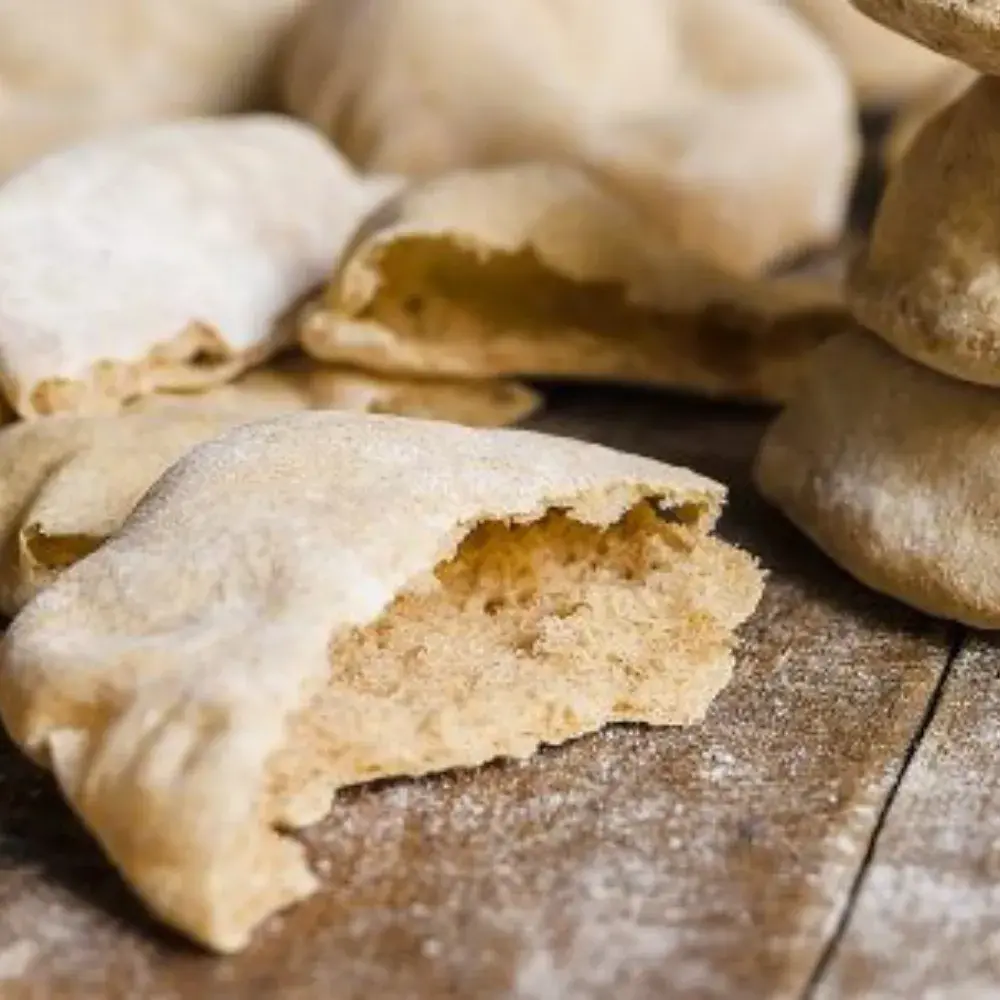
Pita bread, a staple in Middle Eastern and Mediterranean cuisines, is renowned for its pocket-like structure that forms during baking. This occurs when the flat rounds of dough puff up in the intense heat of an oven or on a hot griddle. To achieve this, it’s crucial to start with the right dough consistency.
Begin with high-quality, high-gluten flour mixed with a small amount of yeast and water. The gluten strength is vital as it helps the dough stretch without tearing, trapping steam and forming that signature pocket. For flavor and texture, a teaspoon of olive oil and a pinch of salt can make all the difference.
Perfecting Your Technique
Kneading is the first step where the magic starts. A thorough kneading process, ideally lasting about ten minutes, develops the gluten further, leading to elastic and smooth dough. Once kneaded, allow the dough to rest and rise in a warm place until it doubles in size—this could take approximately one to two hours.
Rolling out the dough evenly is another critical factor. Aim for circles about a quarter-inch thick. Consistency is key; uneven thickness can prevent the pita from puffing up correctly.
Optimal Baking Conditions
Pita bread bakes best at high temperatures. Preheat your oven, along with a baking stone or inverted baking tray, to 475°F (246°C). This high heat simulates the traditional baking conditions found in professional bakeries.
Place the rolled-out dough on the hot surface, and it should take about two to three minutes for each pita to fully puff up and achieve a golden color. Watching this process is not only satisfying but crucial—make sure to remove the bread before it overbakes to retain moisture and softness.
The art of baking pita bread lies in balancing simplicity with precision. By using these tips and understanding the characteristics of the dough and baking environment, you can master the creation of homemade pita bread. Each batch invites you to refine your method, making the process not just about baking, but also about learning and enjoying the journey.
This guide aims to assist you in making homemade pita bread that is not only a delight to prepare but also a joy to eat, perfectly complementing a variety of dishes from dips like hummus and baba ganoush to wraps filled with grilled meats or vegetables. Enjoy the rewarding experience of bringing this culinary tradition into your own kitchen.
Learn More