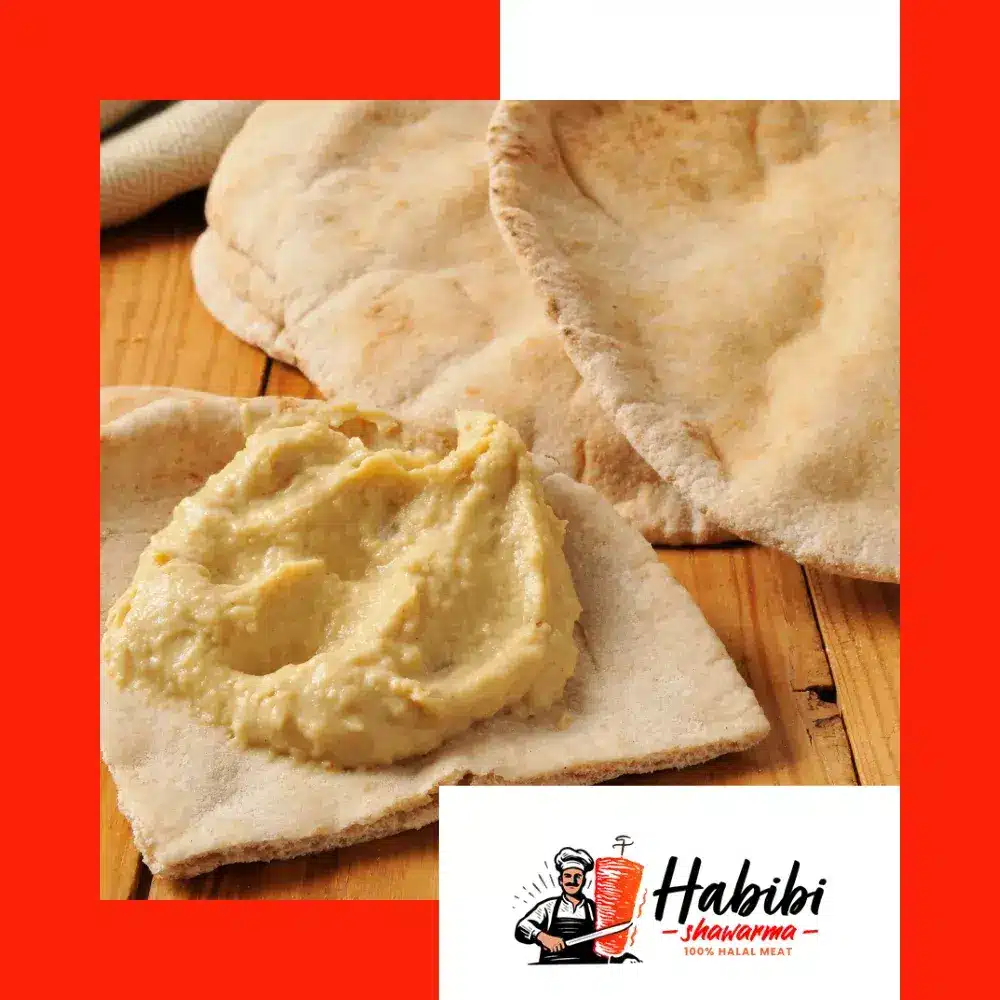
Achieving the perfect gluten-free pita bread dough can seem like a challenge, but with the right approach, it’s entirely possible to create soft, chewy pita bread that puffs up beautifully in the oven. By using the right combination of gluten-free flours and some essential tips, you can transform your dough into flawless pita bread. Whether you’re new to gluten-free baking or a seasoned pro, perfecting your pita dough will allow you to enjoy the authentic taste of pita bread without the gluten.
Choosing the Right Gluten-Free Flour Blend
The key to making successful gluten-free pita bread starts with selecting the right flour. Gluten-free baking requires a combination of flours like rice, tapioca, and potato starch to create a texture similar to wheat-based bread. Adding a binder like xanthan gum or psyllium husk can help the dough hold together, mimicking the elasticity that gluten provides. The flour blend is essential for creating a dough that’s pliable and easy to work with, ensuring that your pita bread bakes to perfection.
Achieving the Ideal Dough Texture
The texture of your gluten-free pita bread dough is crucial for achieving the best results. Your dough should be slightly sticky but firm enough to hold its shape. Too much moisture will result in a dough that’s difficult to roll out, while too little will make it crumbly and hard to handle. Add liquid slowly, and adjust the consistency by either adding more flour or water as needed. The goal is to create a dough that’s soft and flexible, ensuring that your pita bread puffs up and forms pockets during baking.
Allowing Your Dough to Rest
Resting the dough is a vital step when making gluten-free pita bread. Allowing the dough to rest gives the ingredients time to hydrate and the xanthan gum or psyllium husk to work their magic in binding the dough. This rest period also allows the dough to become more manageable, reducing any stickiness that might make it challenging to roll out. Let the dough rest for about 30 minutes before shaping it into rounds, giving you the best texture and flavor for your pita bread.
Baking for That Perfect Pita Puff
Once your gluten-free pita bread dough is rolled into rounds, the baking process is what creates those classic pita pockets. Preheat your oven to a high temperature and bake the dough on a preheated baking stone or tray. The intense heat causes the dough to puff up, creating the perfect pocket inside. Bake for just a few minutes until lightly browned and puffed, and your gluten-free pita bread will be ready to enjoy. The result is a soft, airy bread with just the right amount of chew, perfect for sandwiches or dips.
Learn More
Exploring the Benefits of Homemade Pita Bread: Why Gluten-Free is the Way to Go

