If you have ever strolled the Naperville Riverwalk on a Saturday morning and caught the aroma of warm bread from a nearby kitchen, you already know how irresistible freshly baked pita can be. In our corner of Illinois, where kitchen ovens see as much action as backyard grills, home bakers are discovering that real, pocketed pita is absolutely achievable with a little know-how and the right rhythm. Before we roll up our sleeves, here is one local tip that sets the tone: imagine the pita you’ll stuff with garlicky chicken, crisp pickles, and bright herbs after glancing at a neighborhood spot’s Mediterranean menu—and let that vision guide your dough. With that picture in mind, the steps come naturally, and you’ll bake with confidence.
Authentic pita isn’t just a flatbread; it is a small feat of steam engineering. The signature pocket forms when heat rapidly expands moisture in the dough, inflating the round into a balloon. That pocket becomes a canvas for all the flavors Naperville cooks love, from creamy hummus swirled with olive oil to juicy shawarma piled high after a late night at a friend’s place near North Central College. I’ve coached plenty of neighbors through their first successful puff, and I can tell you the secret has less to do with fancy tools and more to do with controlling heat, hydration, and timing within the realities of a suburban kitchen.
What Makes Pita “Authentic” in a Naperville Kitchen
When locals ask what separates authentic pita from a simple flatbread, I always point to three pillars: moderately high hydration, strong heat from above and below, and a patient fermentation that coaxes flavor from simple ingredients. Good flour matters too. Most Naperville bakers reach for all-purpose flour because it’s handy, and it works beautifully. For extra chew and a touch of nutty character, blend a portion of bread flour or stone-ground whole wheat from a reliable grocer along 75th Street or Ogden Avenue. Look for a protein content around 11 to 12 percent for just enough structure to trap steam without turning the bread tough.
Yeast choice is flexible. Instant yeast slips right into your dry ingredients, while active dry needs a few minutes of warm water to wake up. Either way, water that feels like a comfortable bath—around the warmth you’d use for handwashing dishes—is enough to activate yeast without shocking it. Salt is non-negotiable for flavor and gluten development, and a small splash of olive oil softens the crumb. Sugar or honey is optional; it can speed fermentation slightly and bring a faint sweetness, but many traditional recipes rely solely on the flour’s natural sugars to brown in the oven.
Gathering Ingredients and Gear Around Town
One of the pleasures of baking pita in Naperville is how easily you can find what you need. Pick up unbleached all-purpose flour from the supermarket near Washington Street, or explore the international aisles at markets off Route 59 for finely milled options common in Middle Eastern baking. A baking stone or steel is wonderful but not required; a sturdy inverted sheet pan preheated with the oven makes an effective substitute. If you have a cast-iron skillet, keep it handy for stove-top bakes. A simple rolling pin, a bench scraper, and a clean countertop are enough to transform dough into rounds ready for the oven.
As for mixing, your stand mixer can certainly help on busy weeknights, but many of us prefer the tactile clarity of hand-kneading. Feeling the dough change from shaggy and sticky to smooth and elastic teaches your hands what “ready” feels like. That sense memory makes every future batch easier, the same way you know when your grill at a backyard gathering has reached the sweet spot just by hovering your hand above the grates.
Creating the Dough: A Naperville-Proof Routine
Start by whisking flour, yeast, and salt in a large bowl. Make a well, add warm water and a drizzle of olive oil, and draw the dry into the wet with a wooden spoon until a rough mass forms. Turn the dough onto a lightly floured surface and knead with patient, steady motions. Aim for a dough that is soft, supple, and slightly tacky without clinging aggressively to your hands. If it’s sticky enough to frustrate you, dust in a teaspoon of flour at a time; if it feels tight and dry, wet your fingers and work in just a whisper of water. In Naperville’s winter, indoor air runs dry thanks to central heat, so a touch more water can help. In humid July weather by the DuPage River, you might find the opposite—your flour drinks less, and moderation is key.
Once the dough smooths out and passes a relaxed windowpane test—stretched thin it shows a translucent film without tearing—gather it into a ball, oil a bowl lightly, and tuck the dough inside. Cover and let it rise until doubled. Depending on your kitchen temperature, this can take from an hour to two. On chillier afternoons, I move the bowl to a sunny patch near a window or pop it into an oven that’s been turned on for one minute and then switched off to create a gentle, draft-free proofing box.
Shaping and Resting: The Calm Before the Puff
After the first rise, nudge the air out and divide the dough into equal portions—golf-ball to small orange sized, depending on the diameter you prefer. Roll each into a taught ball by cupping your hand and moving it in small circles on the counter. Let the balls rest under a clean towel for fifteen to twenty minutes. This pause relaxes gluten and pays huge dividends when you roll them out; relaxed dough yields to the pin without snapping back, giving you even, round discs that puff predictably. During this stage, set your oven to its hottest setting and slide in your stone, steel, or inverted pan, giving it a full 30 minutes to superheat.
To roll, dust your surface lightly and flatten each ball from the center outward. Aim for an even thickness of roughly an eighth to a quarter inch. Avoid pressing seams or ragged edges into the disc; they create weak points where steam escapes, reducing the ballooning effect. If you see bubbles forming as you roll, gently press them out. Transfer the discs to a lightly floured board and keep them covered as you work. If you’re planning a family dinner near the 95th Street Library and want everything ready at once, roll all the rounds first, then bake in quick succession.
Baking for the Pocket: Oven, Skillet, or Grill
The oven is the home baker’s best route to a consistent pocket. Slide the rolled disc onto the preheated surface and watch it closely. Within a minute or two, it should swell dramatically. Another minute sets the structure without drying it out. Pull it when it’s just kissed with golden spots. If you’re using a cast-iron skillet on the stovetop, preheat until the first wisp of smoke rises, then lay down the disc. Flip when you see large bubbles forming; sometimes the pocket appears fully after the flip, sometimes it balloons on contact. Outdoor grilling works too—especially during summer block parties off Hobson Road—but make sure the grates are screaming hot and clean, and avoid flames that char before the interior inflates.
There’s a moment in the process—every baker remembers their first—when you peer through the oven window and the dough rises like a miniature hot air balloon over the Riverwalk. That’s the joy you’re working for. If it doesn’t happen the first time, trust that tiny tweaks will get you there. Authentic isn’t about perfection; it’s about capturing the soul of a bread built for filling, tearing, and sharing around a lively table.
Troubleshooting the Puff
No puff often means either insufficient heat or uneven rolling. Crank your oven to maximum, give your baking surface time to preheat, and roll with care so the disc is uniformly thick. Sticky dough can glue to the work surface and tear as you transfer; flour lightly or roll on parchment and flip the disc onto the hot surface in one swift motion. If your rounds brown too quickly, they likely need just a bit more thickness. And don’t skip the resting step before rolling—it’s the difference between a stubborn, springy round and a compliant one that yields to steam. For whole wheat variations, mix in one-third whole wheat to two-thirds white at first, and add a tablespoon or two of extra water to compensate for the bran’s thirst.
Flavor-wise, a slow, cool rise deepens complexity. If your Saturday looks packed with youth sports near Nike Park or errands up and down Route 59, blend convenience and taste by mixing the dough the night before and tucking it into the fridge. Next afternoon, let it warm up on the counter for an hour, proceed with shaping, and you’ll have not only better flavor but an easier schedule. This make-ahead method also gives you time to think about fillings, maybe inspired by a favorite Naperville spot’s rotating items on its Mediterranean menu, which can spark ideas for spice blends, pickled vegetables, and sauces to replicate at home.
Serving Ideas with a Naperville Twist
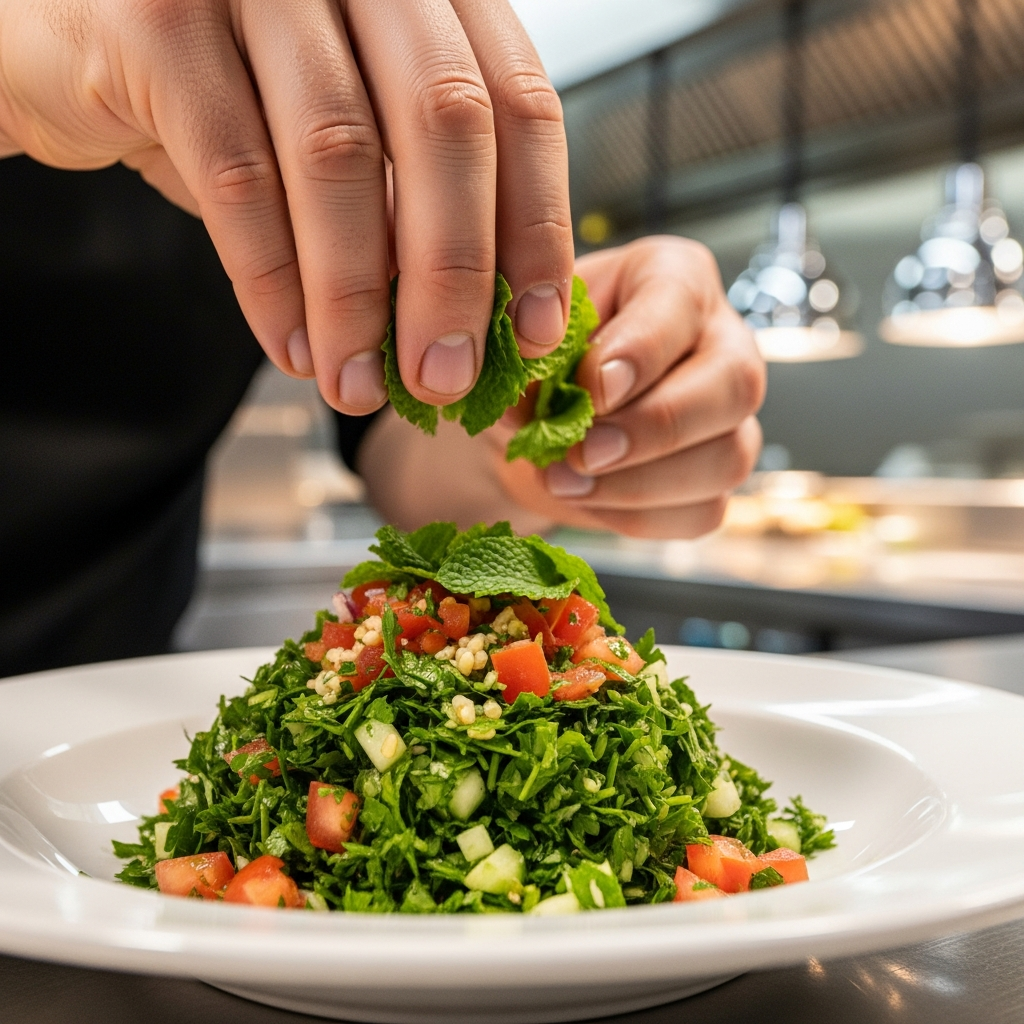
Once you’ve mastered the bake, the fun begins. At home gatherings, I set out a spread that mirrors the relaxed, friendly vibe of a weekend along Jefferson Avenue—bowls of lemony tabbouleh, roasted eggplant mash, herbed yogurt, and quick-seared chicken tossed with warm spices. Puffed pitas become bowls when cut open and pockets when sliced in half. Kids love making their own “boats,” and adults get competitive building the perfect layer stack. For vegetarians, I roast cauliflower with cumin and paprika until it crackles, then tumble it into a pita with tahini and parsley. Leftover pot roast from a Sunday supper near Naper Boulevard transforms into a pita-filling wonder with a drizzle of garlicky sauce and a handful of bright pickles.
Texture is everything, so aim for contrast: crunchy cucumbers against soft bread, juicy tomatoes against creamy spreads, gently charred meats against cool herbs. You’ll notice that fresh pitas invite bolder seasoning—salt and acid help ingredients pop, while a bit of heat wakes up the palate. I keep a jar of sumac handy for that citrusy spark and a squeeze bottle of tahini-lemon for fast assembly when friends drop by after a North Central College game.
Storing and Reheating Like a Pro
Fresh pita tastes best within hours, but you can keep it soft by wrapping in a clean kitchen towel as it cools, then sliding the bundle into a container or zip-top bag. For longer storage, freeze pitas flat with parchment between each round. To reheat, use a hot skillet for thirty seconds per side or wrap the stack in foil and warm in a 350-degree oven until supple. Microwaves work in a pinch—ten to twenty seconds often does it—but keep a light touch to avoid toughening. If a pita goes stale, don’t toss it; brush with oil, sprinkle with za’atar, and toast into chips that pair beautifully with a backyard spread or a picnic in Knoch Knolls Park.
Whole Wheat and Sourdough Variations
For a heartier loaf, shift to a half-and-half blend of whole wheat and white flour, adjusting water so the dough remains soft. The pocket still forms when you hit the same cues: hot surface, even thickness, rested dough. Sourdough lovers can swap part of the water and flour for mature starter, cutting back the yeast to a pinch and allowing a long, cool rise that suits a work-from-home day in South Naperville. The tang pairs beautifully with smoky grilled meats, caramelized onions, and roasted peppers, making a pita that tastes complex but remains family-friendly.
Herb- and spice-studded pitas are welcome too. Knead in sesame seeds, nigella, or finely chopped rosemary. Or brush the rolled discs with olive oil and scatter a measured amount of za’atar before baking for a fragrant surface. These variations don’t change the physics, so you’ll still see that satisfying lift if you maintain your heat and keep the rounds even.
Sharing the Bake
One of my favorite Naperville rituals is inviting neighbors for a casual pita night. I bake rounds as people arrive, handing them off like hot cookies and watching faces light up when a loaf puffs. The kitchen becomes performance art, steam billowing, timers chirping, everyone nibbling trimmings. If you need to stretch the meal, a pot of lentil soup or a tray of roasted vegetables turns it into a feast. As friends head home down Washington Street or across the Riverwalk, send them with a few pitas wrapped in a towel—the kind of neighborly gesture that keeps our town friendly and full.
Frequently Asked Questions
Why didn’t my pitas puff even though my oven was hot?
Uneven thickness or insufficient preheating usually cause a flat bake. Give your stone or inverted pan a solid thirty minutes to preheat at the oven’s highest setting, and roll each disc evenly without sealing the edges. Resting the dough before rolling makes it easier to achieve uniform thickness, which is key for reliable steam expansion.
Can I make pita without a baking stone or steel?
Absolutely. Flip a rimmed sheet pan upside down and preheat it with the oven, then slide the discs onto the hot surface. A cast-iron skillet on the stovetop also works well. The principle remains the same: very high heat, quick bake, and even thickness.
How do I adapt the recipe for Naperville’s winter dryness?
Dry indoor air can stiffen dough. Start with slightly warmer water, and if the dough feels tight, wet your fingers and work in a teaspoon or two more water until the dough relaxes. Keep dough balls covered while resting, and avoid excessive dusting flour when rolling.
Can I go fully whole wheat and still get a pocket?
You can, but start by mixing in whole wheat gradually—one-third, then half—while adding a bit more water. Whole wheat absorbs more moisture and can make dough denser. With attentive rolling and strong heat, a full pocket is still achievable, though the crumb will be heartier.
What’s the best way to store leftovers?
Cool pitas under a towel, then place them in an airtight bag. They keep at room temperature for a day or two, in the fridge for up to a week, and in the freezer for a few months when separated by parchment. Rewarm gently in a skillet or oven to restore softness.
Can I prep dough in advance for a busy day?
Yes. Mix the dough the night before, refrigerate in a covered bowl, and let it come to room temperature for about an hour before shaping. The cold rise adds flavor and makes same-day entertaining easier.
Ready to bring warm, pocketed loaves to your own table in Naperville? Fire up your oven, set out your favorite fillings, and invite the people you love to gather round. When you need inspiration for what to tuck inside—especially after a long day of errands up and down Route 59—browse a trusted local spot’s Mediterranean menu, then use those flavors as your guide. Start with one batch tonight, and by the next weekend, you’ll have a house specialty everyone asks for again and again.